My Planner + Free Printable Daily Planner Inserts

Did you start 2017 with a new daily planner to help you schedule and organize your week? Is it still working for you?
Four years ago I wrote a post about the daily planner I used. It was called a Planner Pad. I loved it, it worked great for me for four years. You can read about it in this post. I receive many questions about it and I thought I would do an update about what I use now to plan out my daily life as well as what you read here on In My Own Style.

Last year, I found I needed something more customized for the way I work and in tune for what I needed as a blogger. I have bought other blogger’s planners online. They were colorful and well organized, but I found that none of them where 100% right for me so I set out to create a simple planner that I could customize just for me and they way I know I will use a planner.
I decided to make my own planner using a mix of my own creations as well as purchased planner sheets that I found online. Etsy and Amazon both have a ton of planners all ready to download.
My daily planner consists of 3 different types of pages:
- Vertical monthly calendar page for each month – Free printables I made (download below)
- This Week – 2 page spread I bought. One is a focus page, the other a weekly page with space to write things for each day of the week.
- Movable/Wipeable To Do List – Free printable I made for you to download below

I bought the weekly planner 2-page inserts from EllagantInk. It includes inserts for the entire year and are all dated, which I like.
I assembled the pages in a 1-inch white binder I bought at Staples…

…along with colorful plastic pocket dividers that I put in the back. They are where I hold information I use on a weekly basis.

I bought colorful monthly tabs to separate each month.

I use a pen, pencil and a wet erase marker to write things in my planner. Pen for the items I know are going to happen, pencil for tenative things, and the wet-erase marker for my movable/wipeable To-Do List

Almost all planners have horizontal monthly calendars or the month is on a two-page spread. I prefer a one page monthly calendar page so I can view it along with the weekly day page for each week when my planner is open.

The vertical monthly calendar pages can be printed below:
Jan | Feb| Mar | Apr | May | June | July | Aug | Sept | Oct | Nov | Dec

Here is what the Focus page I bought looks like…

…and the weekly day page.

I use Washi tape to tape add color to the pages, but also to tape two pages together, since I did not print the 2-page spread back to back.

This is how I really customized the purchased planner pages to fit my needs. I like to see everything at a glance in my open planner notebook. After the vertical monthly calendar page for each month, I taped the weekly day page to the next weeks Focus page so when I open my planner I see both pages at once and don’t have to turn any pages all week, except if I want to look at the monthly calendar.

I also have a movable To-Do list.

This list can be moved easily to the next week so I don’t have to re-write my list every week.

I made the removable wipe-off insert by self-laminating the printable and punching 3 notebook ring holes along the edge. I then cut slits with a pair of scissors from the outer edge of each punched hole. This allows me to move it on and off the rings without opening them.
I use a fine-tipped wet erase marker to write items on the list and then cross out the items as I complete them. At the end of the week, I use a wet tissue to remove the stuff I did, but keep the items I still need to do intact and move the list to the next week.
How To Make A Movable Daily Planner To-Do List

supplies needed:
- Download : To Do list printable
- Self-Laminating sheets
- Paper cutter
- Hole punch and scissors
- Washi Tape

- The printout has two lists. Cut in half on the center grey line and then place them back to back.

2. Place the back-to-back images in self-laminating sheets. Cut around edges leaving about 1/4″of laminate around the paper list. Add Washi tape for interest.

3. Cut the slits into the holes as shown in the photo above.
Having a different list on each side helps me keep two running lists. On the back of my To-Do insert I list posts I am working on and planning.
Having used the Planner Pad for many years taught me a few good habits when using a planner:
- Keep things as simple as possible.
- Always put the most important stuff at the top and funnel down to the least important stuff on your task pages.
- Before shutting down on Friday afternoon, I move my To-Do List and any items that didn’t get done to next weeks tasks.
- I use two different colors of ink. I use colored ink for items that hold more importance.
- If I need to clip something to my planner, I use these jeweled paper clips I made to make my planner look colorful and pretty.
- I try to plan ahead and use pencil when writing down items that are tentative. I can simply erase them if they don’t happen or go over them with marker when I know it is confirmed.
Do you use a daily planner? Do you want to share any tips on how you use and organize yours?
RESOURCES: affiliate links used
Colorful Plastic File Folder Dividers

Hi Diana,
Are you going to be able to update the calendars for 2018? Also, Elegant Ink is not available now. What do you suggest?
Love your shelf unit with the baskets! I also love the Things to Do list and the breakdown into Email, Purchase, To Do. Very helpful!!! Thank you!!
Well written post. We do interior decoration work and mosquito net installation work. I always read blogs like these and save images to know about the latest trend in this industry and also to update myself. Keep writing more and with lot of images.
thank you – I have been looking for a simple way to view the current month, weekly list, and to-do items. Thank you, too, for providing free vertical monthly calendars! Can’t wait to set it up.
Hi Diane – love this post and your planner! I have spent so much money over the years trying to find a planner to meet my needs – ended up using a notebook and writing everything out – until I saw this! Love having the week on one page, then an area for to dos. And a binder so I have tabs for projects, fitness, health, and other areas of life! Please do this for next year as well – will look for it around November?? And love love love all your updates. I love the all white – but unfortunately live in a wood cedar home ? Trying to incorporate some white areas to let more light in.
I just love you, your blog and all your design ideas! I always open up your newsletter and save it to savor when I have some me, down time! I think you and I would be great friends if we were ever to meet. Keep up the good work–Sophie, your fan from Texas
Hi Sophie – Thanks for the nice note. I truly appreciate you taking the time you enjoy my blog and reading all my posts. XO Love your site. I love and enjoy all things related to tea lover. I am drinking a cozy cup right now :-)
I love the way you stay organized! Colorfully and cheerfully! That’s the way I’d do it too… but I’m so into recycling and reuse that I can’t throw away any paper unless it has no space on it for a note! But I think you are definitely more organized than most, and this just might be why!
I can not live or breath without my planner. It helps me to stay organized, motivated, and reduces my stress. Although, I have never found the perfect planner I am going to have to try creating my own. I usually have two or three, each with a different purpose. It can be a pain but I make myself feel better by saying they are desk home decor!
The January calendar page is linked to a March page. Thanks for sharing with us!
Hi Kathi – Thanks for telling me about the link for January. All fixed now. :-)
Hi Diane, Thanks for the great calendar pages. I cannot get the January one to print. I know it’s March, but I LOVE these and will go back and fill in the pages. These are going in page protectors in a notebook. I always LOVE your great ideas and creativity!! I also live in SC, in the upstate near Spartanburg. Glad to have you down south!
Hi Judy – I fixed the January link. Thanks for telling me. I have been to Greenville, but not Spartanburg yet. I know Rt 26 takes you right to the city. Looking forward to exploring the area more this summer.
Thanks for the downloads. What a cute and organized planner system. Seeing yours made me remember back in the day when I had to use a system to keep me on task! Mine was not a cute as yours!
Love all the organizing ideas and printables. But what caught my eye is the white moveable unit with the baskets. Where did you find it? I need something like that for my jewelry stash. Thank you!
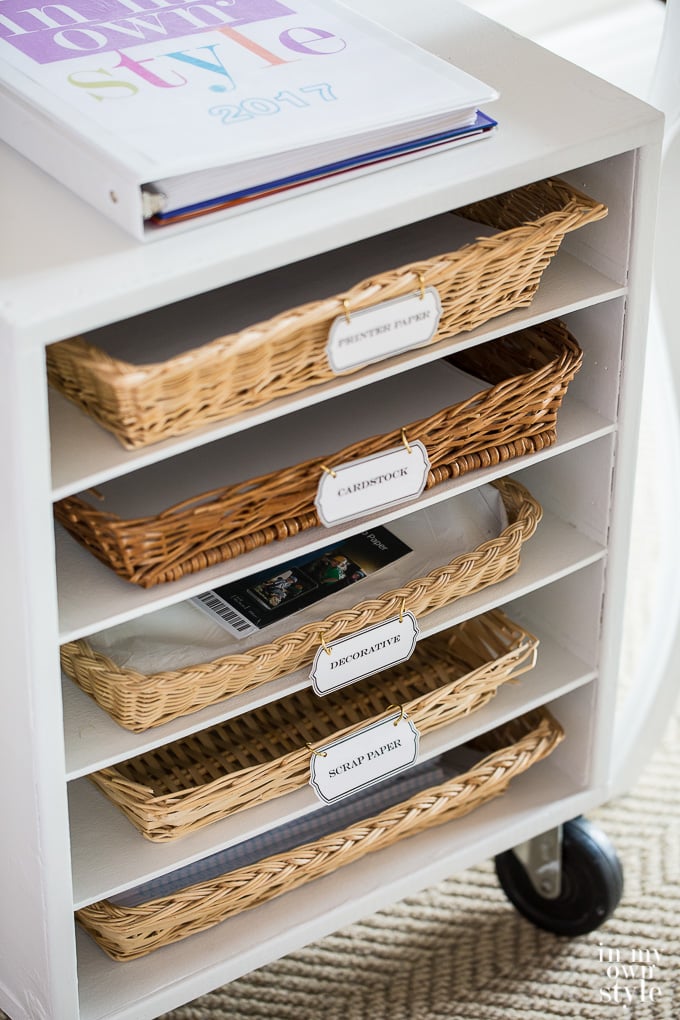
Hi Kathy – That shelf unit I found in curbside trash. I added the wheels and painted it white. The baskets are thrift store finds that I added labels using large jump rings. You can see more of the movable unit in this post: https://inmyownstyle.com/2017/03/craft-room-tour-aka-my-studioffice.html
To see how I made the labels and attached them to the baskets. Check out this post: https://inmyownstyle.com/2013/01/the-container-store-knock-off-magazine-files.html
I wish I had a source for the baskets. I seek them out at yard sales and thrift shops. If I ever do find a retail resource, I will post about it.
Thanks Diane. I’ll have to keep my eyes open, would love to find it on the curb:)
Thanks so much for sharing this with us. I am having trouble printing the April and October monthly pages. Could you please check the links? Thank you.
Hi Beth – All fixed. Thanks so much for telling me that the links were not working.