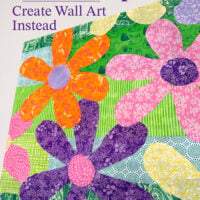
The Colorful Fabric Art I Made Instead of the Quilt I Never Finished
Have you ever bought supplies for a project you were excited to make, only to have them sit untouched for years?
That is exactly what happened with a colorful quilt I planned to sew a few summers ago. I bought stacks of beautiful quilting fabrics with every intention of creating it, but the project never got beyond the planning stage. The truth is, while I love fabric and color, I don’t enjoy spending hours at a sewing machine.
Earlier this year while organizing my craft supplies, I came across the bag of fabrics again. Seeing all those cheerful colors together inspired me to finally use them, just not in the way I originally intended.
Adding Fabric Wall Art to My Powder Room
Instead of making a quilt, I transformed the fabric into colorful wall art for the powder room off my kitchen. The finished canvases add the perfect splash of color to the space, and best of all, they were made using supplies I already owned along with a pair of thrift store canvases that cost only a few dollars.

Across from the vanity in my powder room is a narrow wall that is reflected in the mirror. Every time I looked at the room, that wall felt unfinished. It needed something tall and colorful to balance the space.
I tried a few different sizes of canvases I had to start the project, but none were the right size for the wall. The wall needed something tall or two items hung vertically one above the other to proportionally fill the space in an eye-pleasing way.
Ever since I learned the designer way to hang anything on a wall, I always follow the advice and even wrote this post about it: Hang Art on a Wall The Way a Designer Does.

Then, during a trip to the thrift store, I spotted two printed canvases sitting near the entrance. They were exactly the dimensions I needed and only cost $3 each.
I knew right away I could cover the existing artwork with primer and transform them into something completely different.

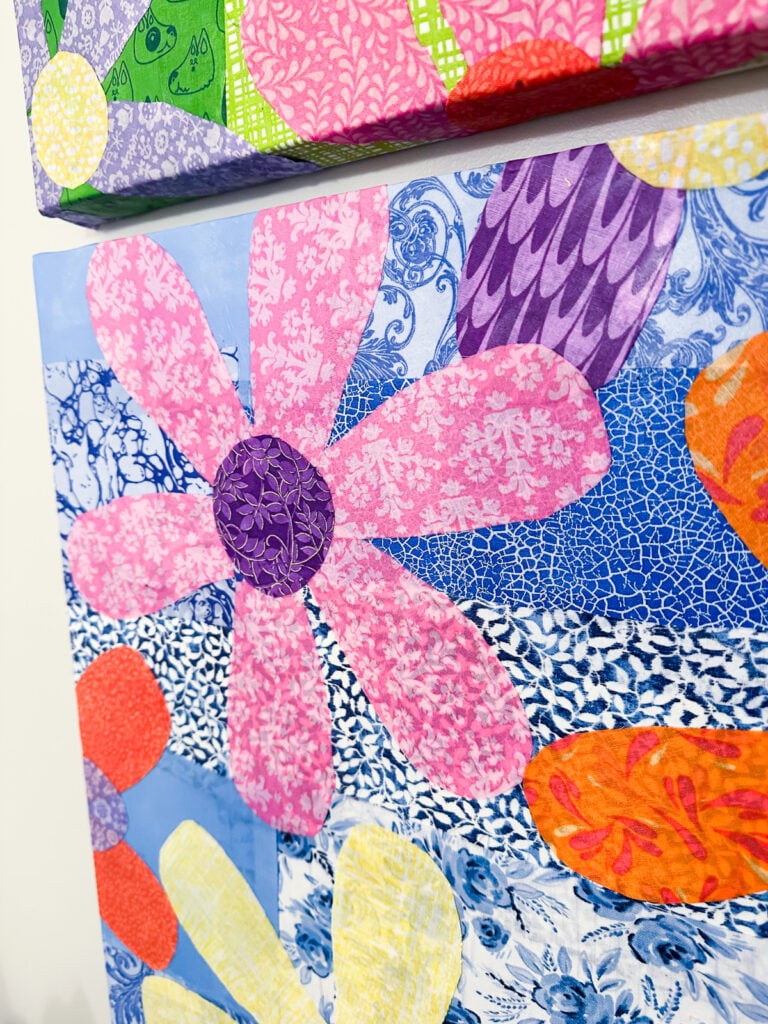
The finished canvases add cheerful color to the room, and when reflected in the mirror, they brighten the entire space. Years ago I made the “Toilette” sign to resemble a vintage French enamel sign, which also added a little personality to the room.
What I love most about the project is that it finally allowed me to use those fabrics I had saved for years. While I never ended up making the quilt, I still get to enjoy all those colors together every day. In a way, the artwork gives me the same feeling a colorful quilt would have, just hanging on the wall instead of draped over my sofa.
How to Turn Fabric Scraps Into Colorful DIY Canvas Art
When making my own wall art in the past I have used tissue paper, gift wrap and even paper napkins to cover artist’s canvases that I buy on sale at the craft store.
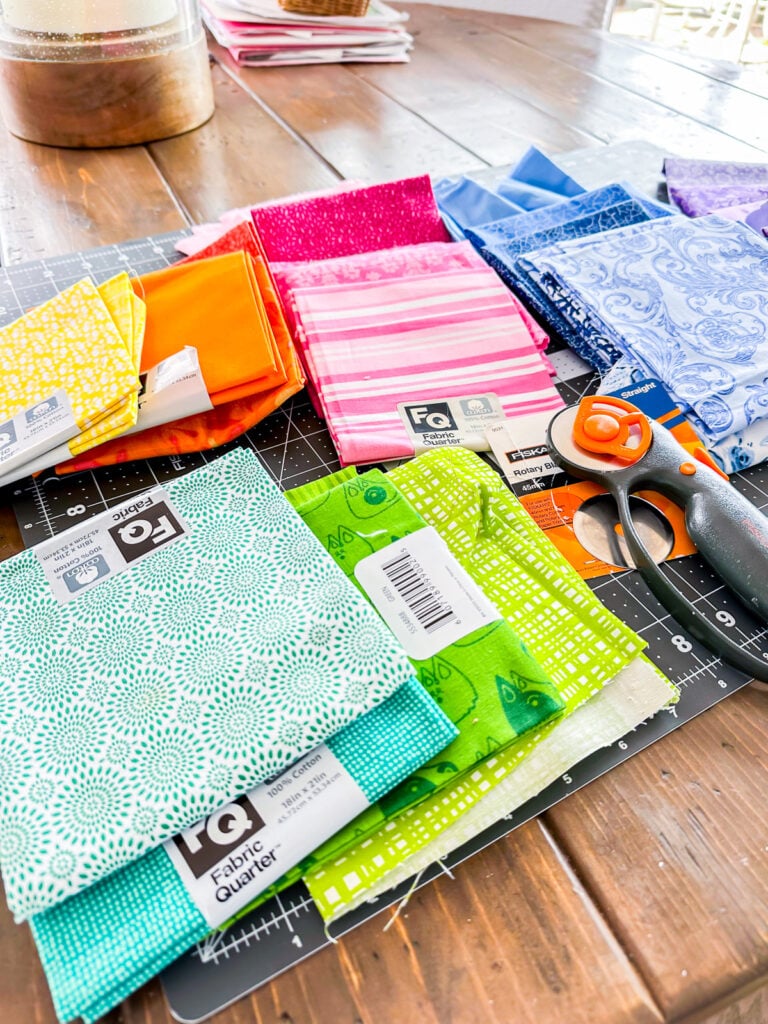
To make the fabric covered canvases, I bought what are called Fat Quarters used for quliting for my fabric. These are sold at craft stores and Walmart. They are inexpensive and come in many patterns and colors.
If you can’t find these or fabric yardage you like, consider heading to the thrift store to see if you can find not only a canvas to use, but clothes in fabrics you like that you can cut up to use.
supplies needed:
When working with the fabric, I didn’t iron it first, but you can do this in advance so you can better visualize what the placement of the cut-out shapes of fabric and colors you choose for your canvas.
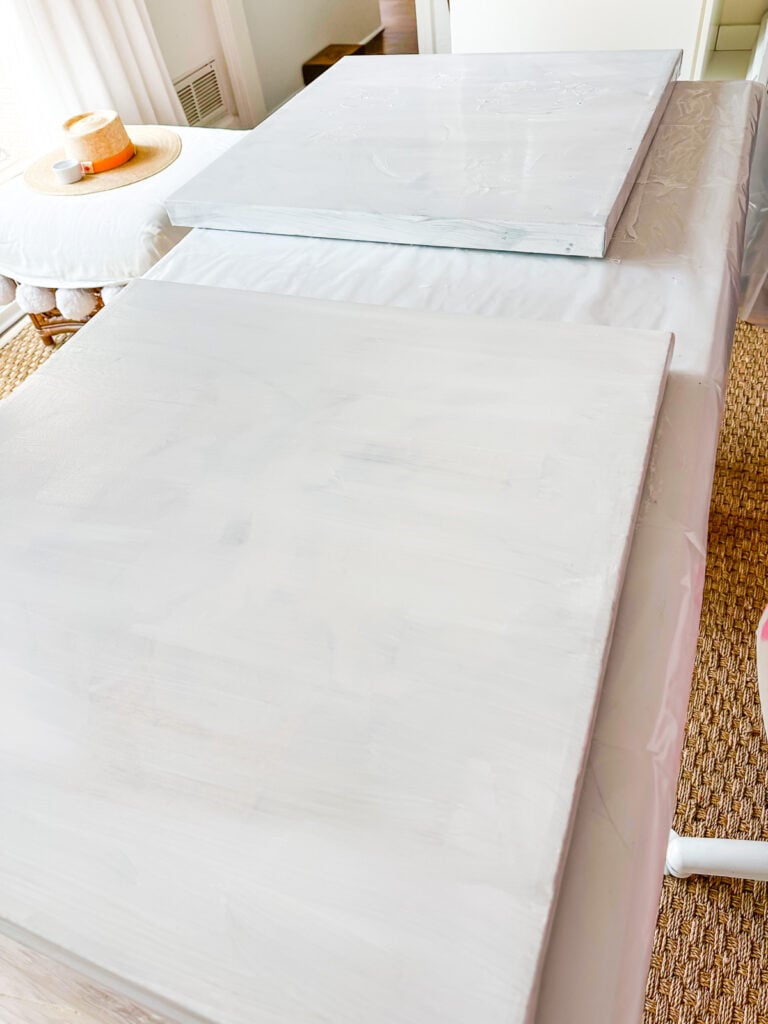
- If using a new canvas, skip this step. If using a canvas that is previously painted, clean it and let dry. Once dry, brush on a coat of paint primer. Let dry and apply one more light coat, let dry.
2. Gather all your fabric. I used fabric quarters mentioned above, but also used scraps of other cotton fabrics I had leftover from previous projects.
3. Before cutting the fabric, decide how you want the finished canvas to look. For instance, do you want the background to have lots of mixed colors or only use one color.
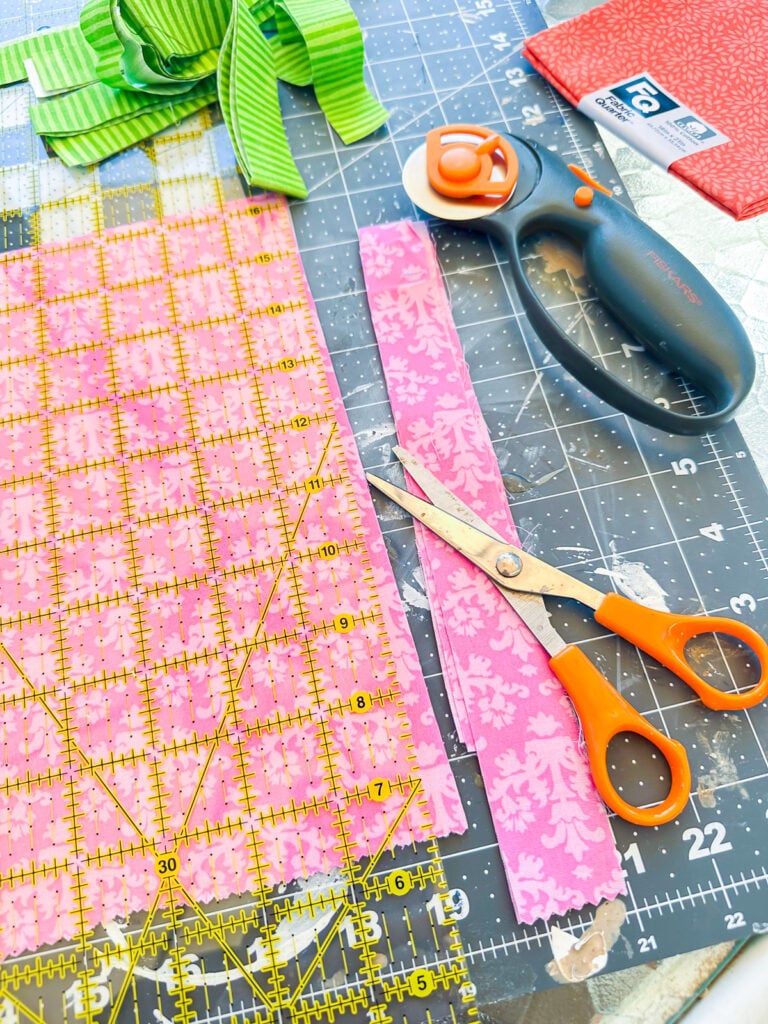
When I first started cutting my fabric for the background. I thought I wanted thin strips of fabric and used a rotary cutter to make the strips, but then I changed my mind and went with using wider strips of fabric for the background.
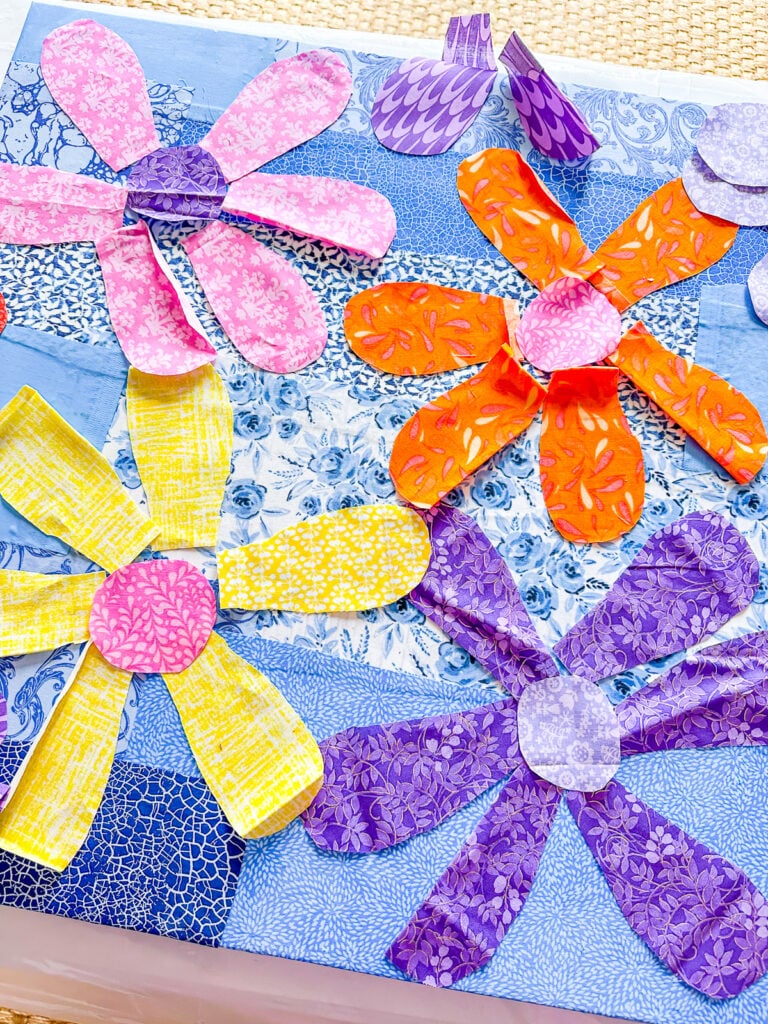
4. I cut these wider strips of fabric in random sizes with a sharp pair of scissors. I didn’t worry about getting the cuts perfect.
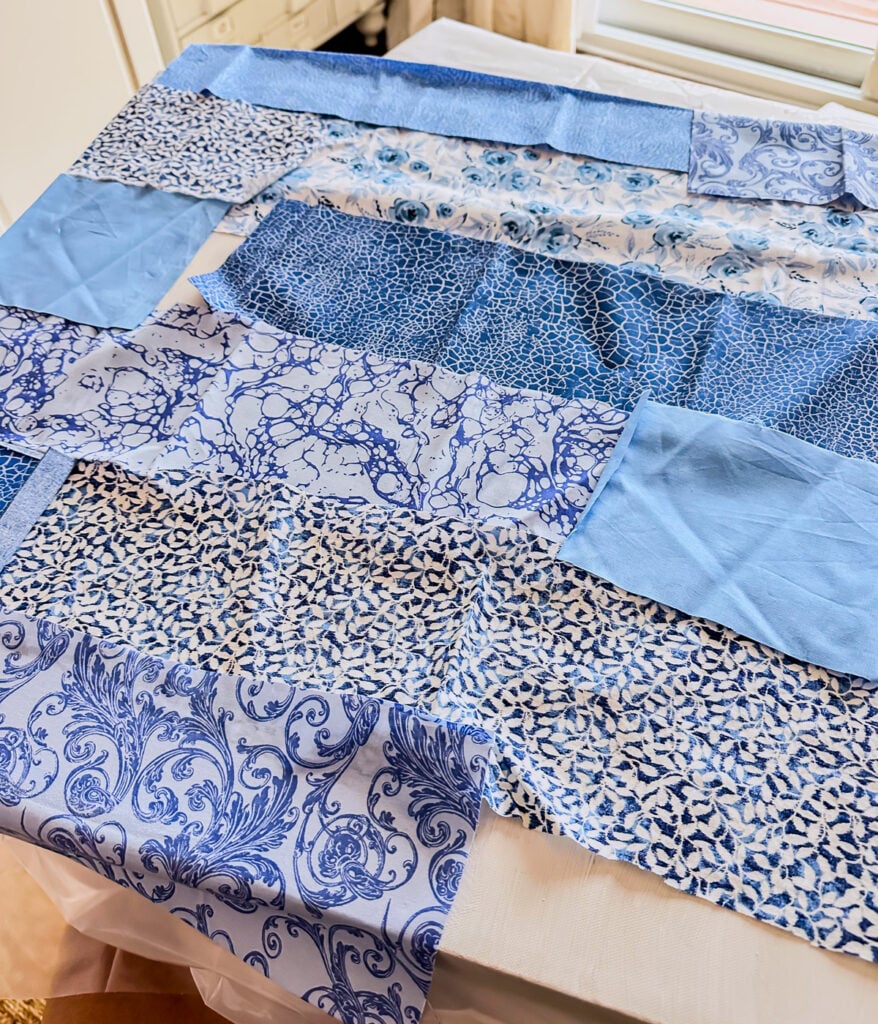
I placed them on the canvas and moved them around until I liked the balance of the colors and overall color mix.
Once happy with the placement, I attached each piece with Mod Podge and a wide paint brush. I first applied the Mod Podge to the canvas and then the back of the fabric and brushed over it with more Mod Podge until the piece of fabric was smooth. I also made sure that I covered all the side edges of the canvas with the fabric.
At the corners, I cut and folded the fabric like I was wrapping a gift, then cut the excess away. I made sure to use extra Mod Podge under and over the fabric at the corners so it adhered well.
I repeated the process for each piece of fabric and slightly overlapped them until the canvas was covered with the cut pieces of fabric. Then let it fully dry.
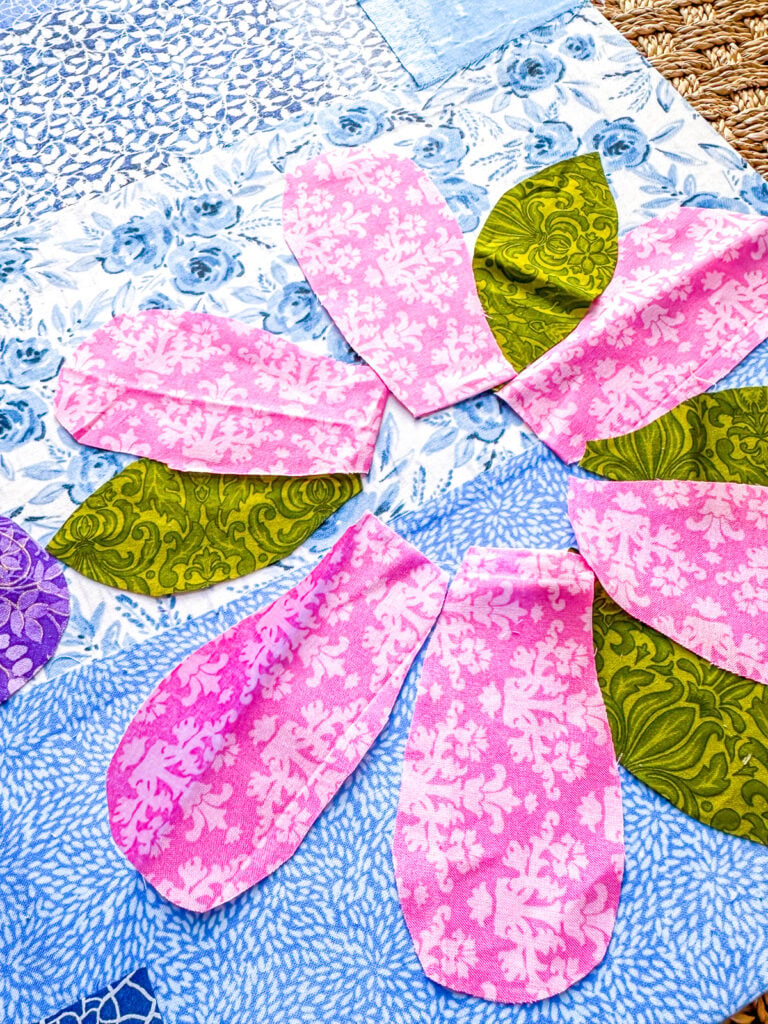
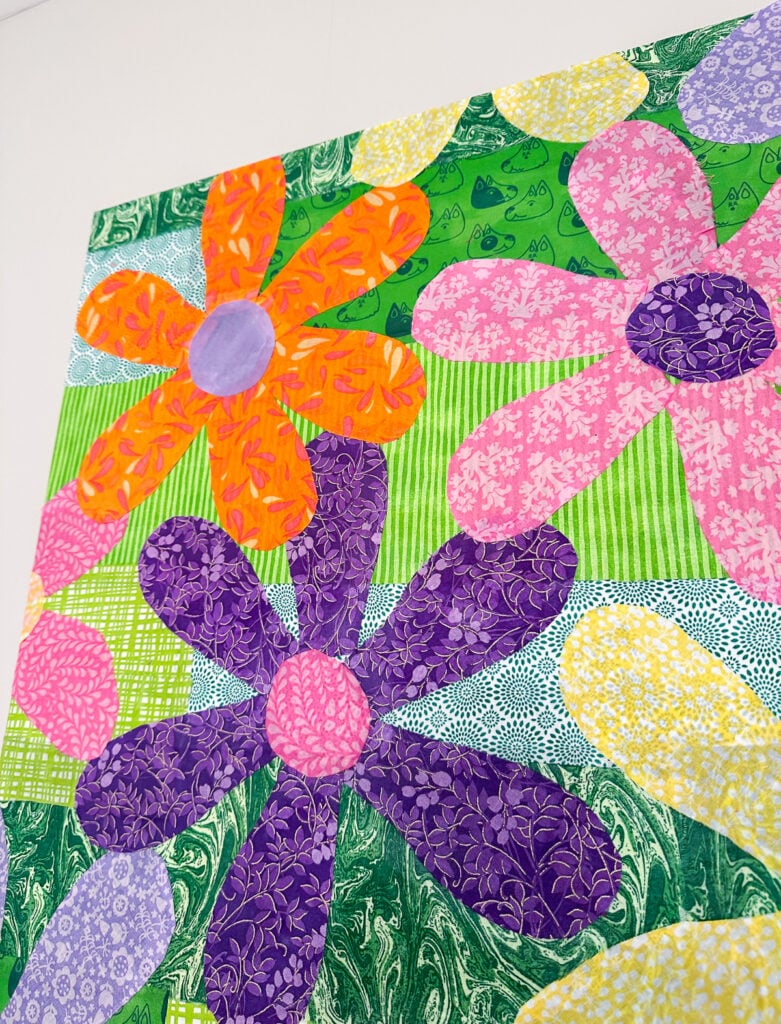
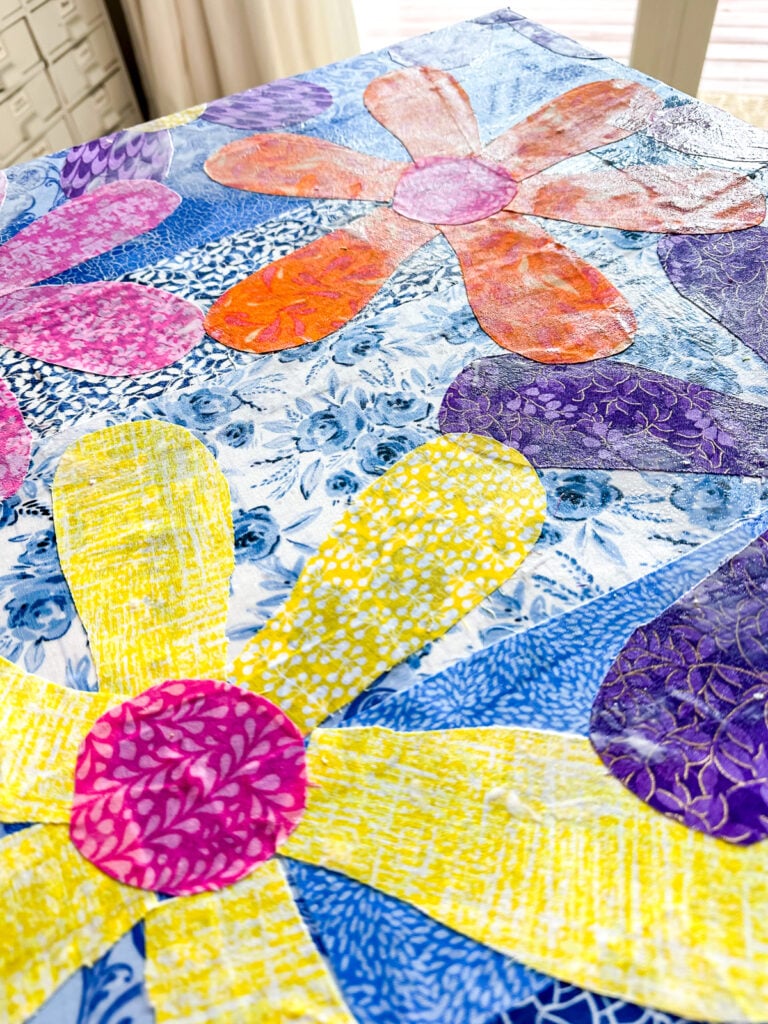
5. Once the background is dry, cut petals and circles for the center of the flowers or whatever shapes you are using from the fabric and place on the canvas.
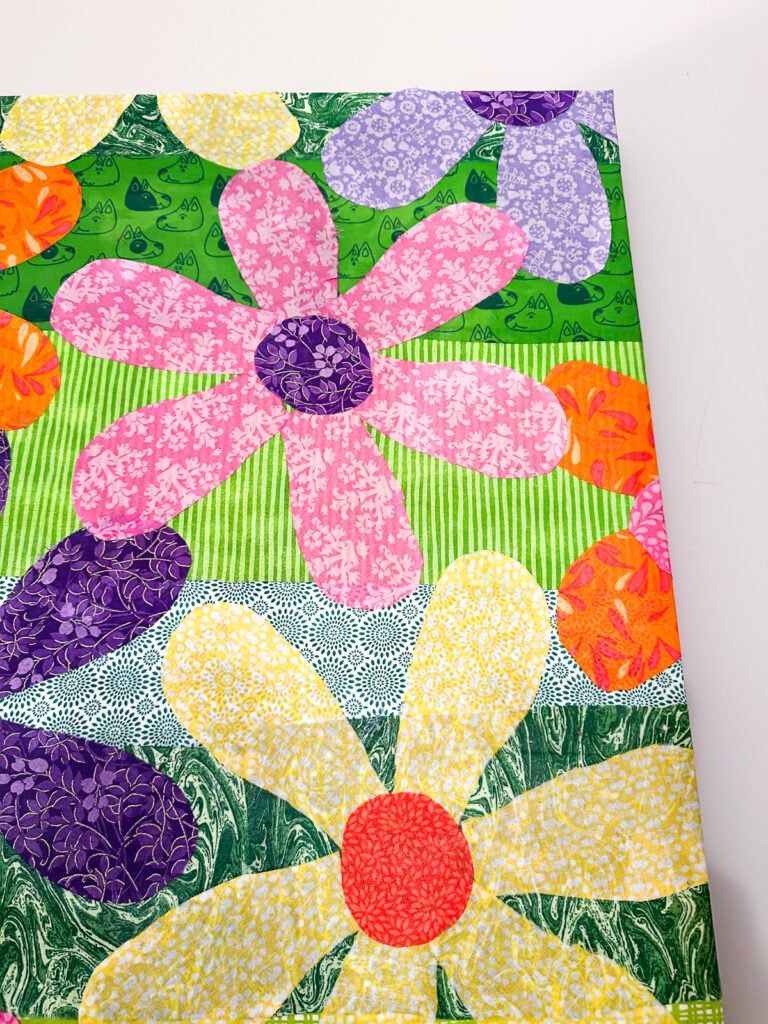
6. Play around with placement of the flowers. If your canvas is more than an inch thick, consider allowing some of the petals or shapes go over the edge and onto the sides of the canvas.
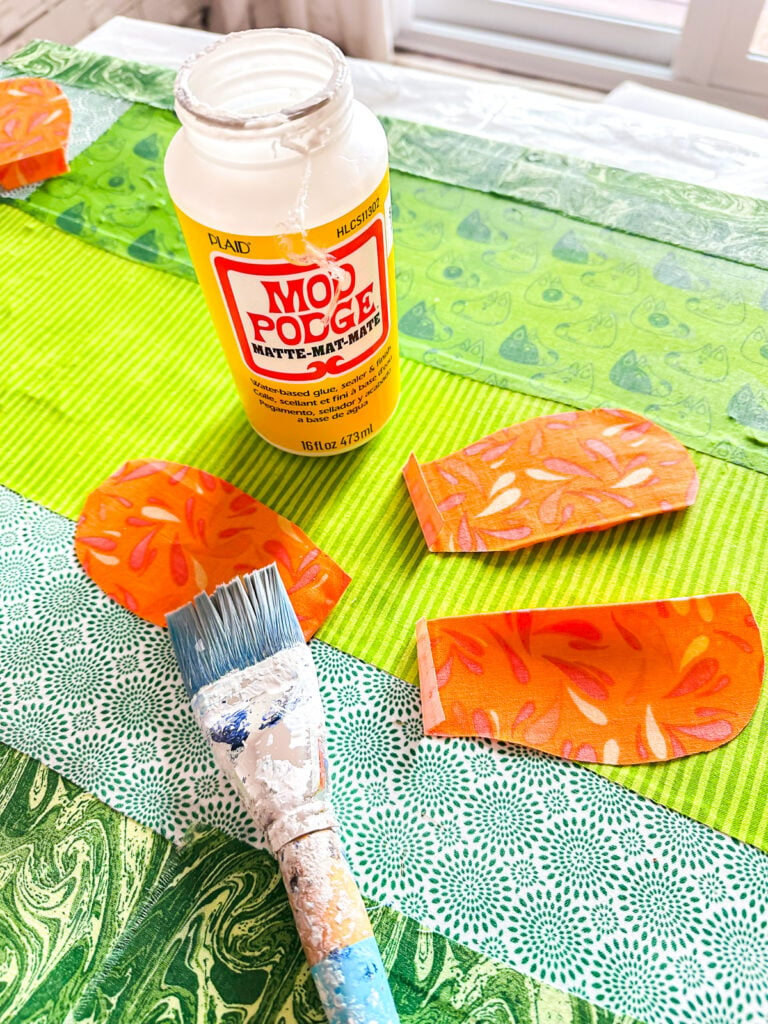
7. Use Mod Podge to attach each cut piece by first brushing over the area where the petal/shape will go and then under each piece. Once applied, go over the piece with another coat of Mod Podge to smooth.
8. Make sure to smooth out any air bubbles and let dry overnight.
9. Once dry, hang and admire your artistic creation.
How to Hang Your Canvas Art Easily on a Wall
When hanging anything on the walls in my house, I use a very handy DIY picture hanging tool that I made.
All you need to make one is a paint stirring stick and a nail. You can see how to make and use it in this post – DIY Decorating Tips & Tricks.
It’s OK If a Project Doesn’t Get Done Right Away
This finished project for the powder room turned out even better than I had imagined.
Looking back, I think the long delay was actually a good thing. It gave me time to think about what the room really needed and helped me come up with a solution that feels much more my style.
This project is a good reminder that not every creative idea has to be done right away or turn out exactly as planned.
For years, I thought those quilting fabrics were destined to become a quilt. Instead, they became something I enjoy seeing every day now on the wall of my powder room. Sometimes the best projects happen when we let go of the original plan and look at what we already have with fresh eyes.
If you have fabric scraps, quilting cotton, or even favorite pieces of fabric tucked away in a drawer, consider turning them into artwork instead. It is an easy way to add color, personality, and a handmade touch to your home without spending much money at all.
And who knows? That unfinished project you’ve been putting off may just inspire something even better.
More DIY Wall Art Ideas Like This
- DIY Modern Wall Art Painting on Canvas
- How To Make Tissue Paper Art for Decorating a Wall In Your Home
- How To Make Outdoor Wall Art
- Art Made Easy: Painting Your Own Canvas
- Hang Art on a Wall the Way a Designer Does
- Written Word or Lyrics Canvas
And I was just about to give away canvas….and I have fabric scraps galore! Now I just have to figure out where to hang my “quilt” and design it. Thank you!!
Diane, your idea and execution are brilliant and absolutely gorgeous. Just what your wall needed!
These are bright and beautiful – I love this idea! I see canvases in the thrift store often. In fact, I think I have one I can already use for something similar. (:
Your picture hanging tool is brilliant. Also, you have inspired me to try mod podge with a pieced quilt patch (not quilted) to a canvas. Such great ideas.
I am not a color fan but those are absolutely wonderful, Diane!!!!
Way to go!
I make quilts and being at a sewing machine is one of my happy places, but I completely understand not wanting to continue with the project as is. I love how you used your fabrics!! It’s such a happy look!
What a fantastic idea!! Looks great and so cheerful! Good job and thanks for sharing!!