Best Ways to Dry Dill (and Other Fresh Herbs)
Recently, I found myself with a lot of extra fresh dill. I had bought a small bunch to can dill pickles, but only ended up using a quarter of the bundle. Rather than throw out the extra, I decided to try drying it out to save for later. I tried several methods and will share my results and recommendations for the best way to dry dill.
I came across four common methods for drying and preserving dill, so I figured I’d dry a bit with each method in order to see which one worked best. I prepared each of the methods on the same day so I could compare. Just like preserving any type of food, it’s important to start with ingredients at the peak of their freshness.
| Method | Drying Time | Effort Level |
|---|---|---|
| Food Dehydrator | 6 hours | Moderate |
| Oven | 25 – 45 minutes | Moderate |
| Microwave | 3 minutes | Low / Easy |
| Air Dry | 16 days (2+ weeks) | Moderate (Hardest removal) |
This article may contain affiliate links. As an Amazon affiliate I may earn a commission from purchases. This adds no cost to you and helps pay for the website.
Method 1: How to Dry Dill with a Food Dehydrator
The first method I tried was using a food dehydrator. I received a dehydrator for Christmas and have had a delightful time drying out all types of foods! So I couldn’t wait to try this method to dry and preserve dill weed.
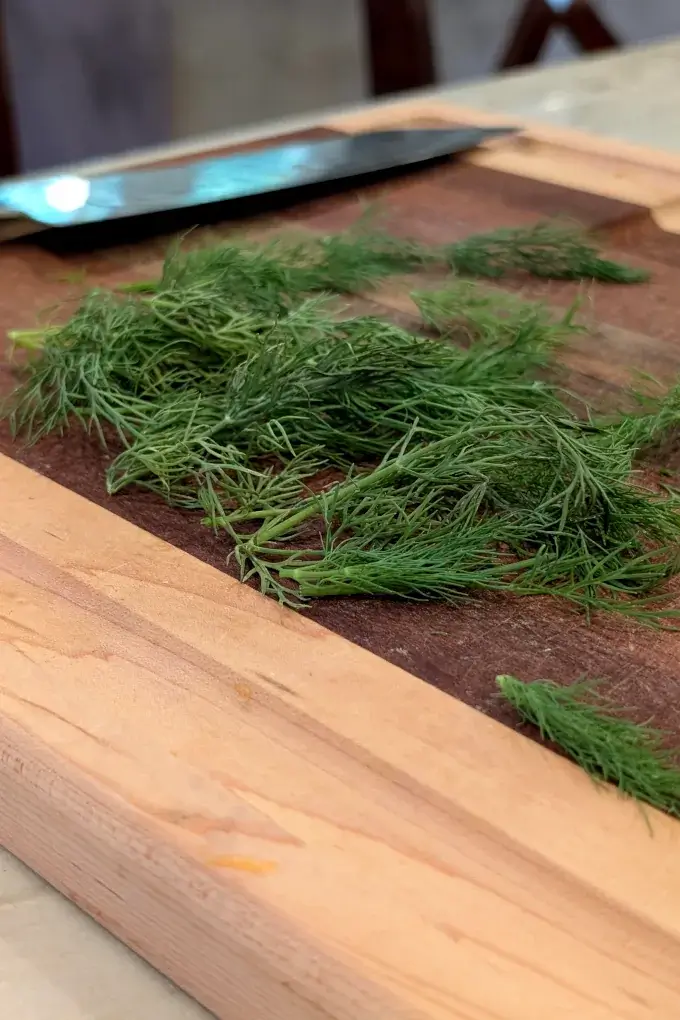
- Wash and dry your dill: I simply rinsed the dill weed with running water and laid them out on a kitchen towel. I then pressed another towel on top gently to absorb the extra moisture.
- Remove the feathery dill sprigs: You can either cut the thick stems off with a knife or gently pull each of the sprigs to separate them from the stem.
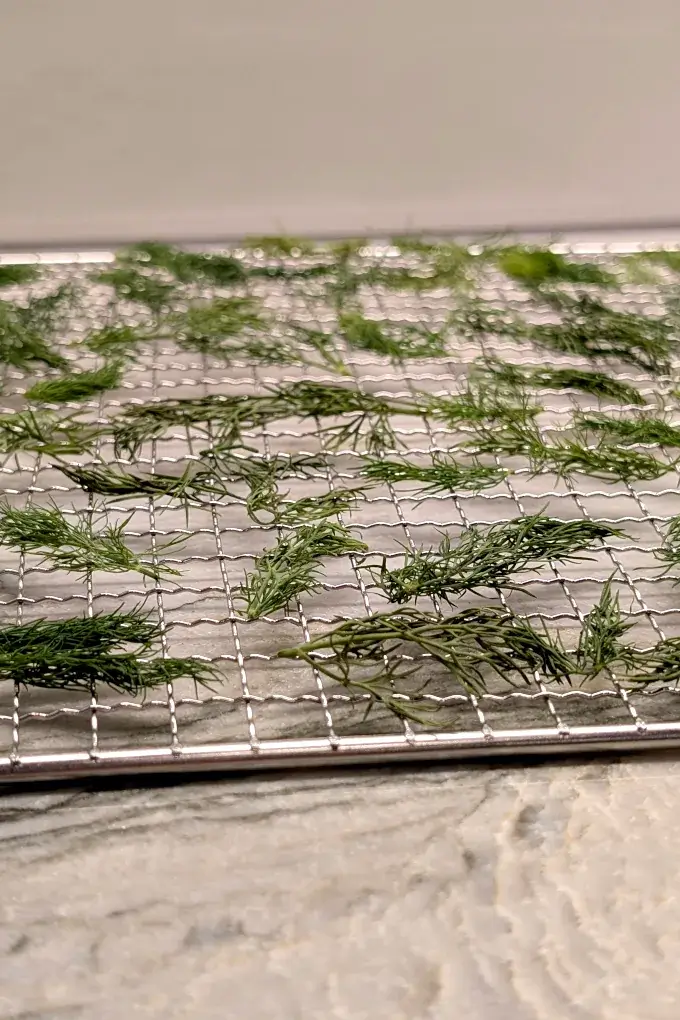
- Move the sprigs to the racks: Place the dill sprigs on the racks of your dehydrator in a single layer, taking care to leave a bit of space between each of the pieces.
- Dehydrator settings: Turn the dehydrator on to 100° Fahrenheit and let the dehydrating begin!
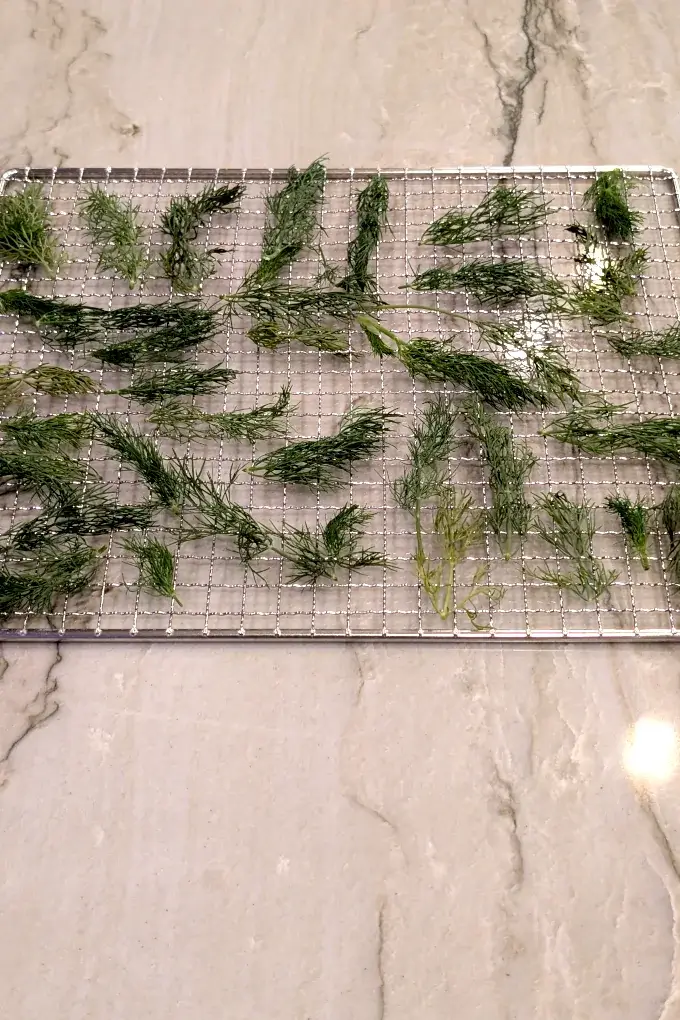
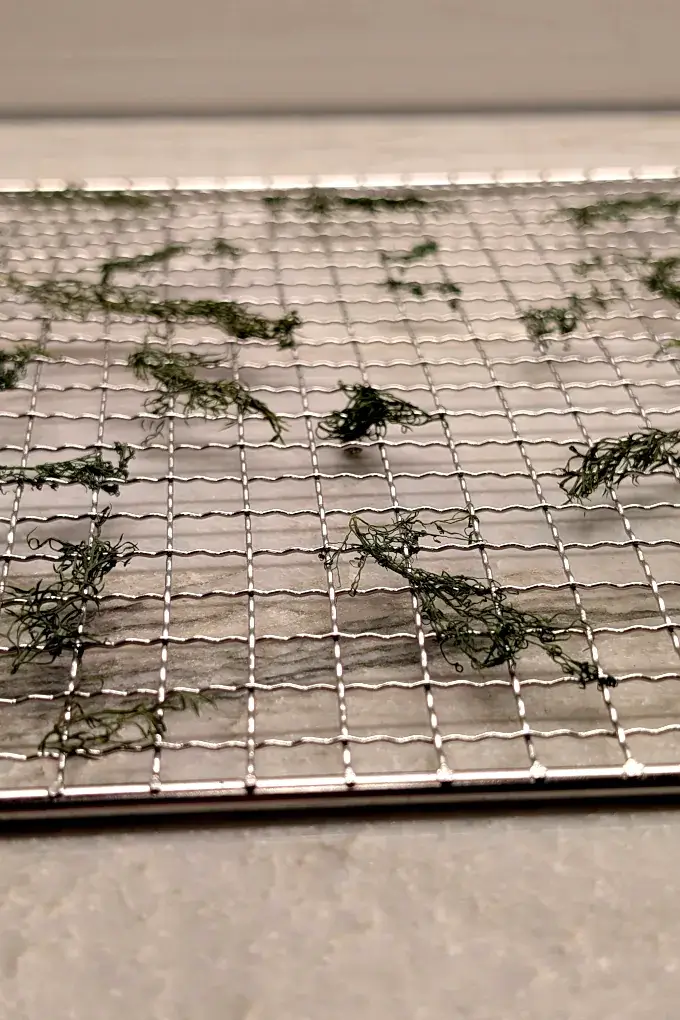
I checked on the dill every couple of hours until the pieces felt dry and no longer contained moisture. They should feel brittle and crumble easily – not bendy or leathery. For my dehydrator it took 6 hours, on a warm, humid day. Removing the fronds from the dehydrator took a bit of work, as they stuck to the racks a little. However, it was still fairly easy to pinch and twist the dill from the stems.
Method 2: Instructions for Drying Fresh Dill in the Oven
Full disclosure – I tried every method except this one. While I personally skipped this method due to my oven’s temperature range, here are the exact steps if you choose to use it.
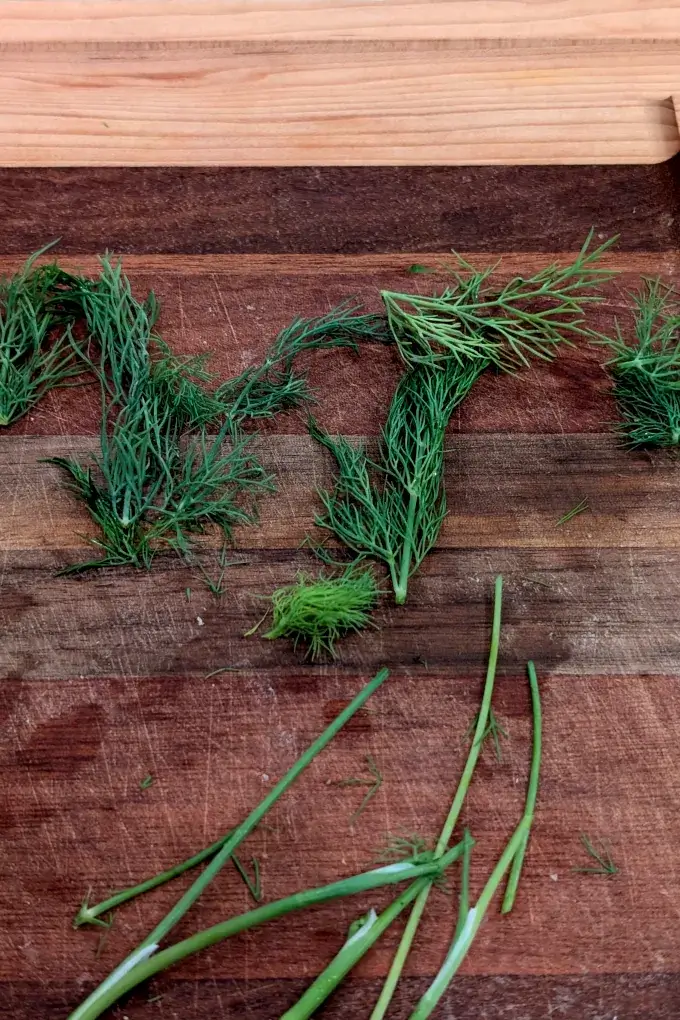
- Rinse your dill: Start with freshly cleaned dill and pat it dry between two kitchen towels or paper towels. Pre-heat your oven while doing this so it’s ready to go (between 110° and 225°F is recommended).
- Separate the stems: You can cut off the stems or pinch the sprigs apart from the woody part of the dill weed.
- Place on a baking sheet: Spread parchment paper on a baking sheet. Place your dill on the parchment paper, making sure to leave some space between each sprig so it can dry properly.
- Drying time in the oven: This can take anywhere from 25 to 45 minutes, depending on your temperature settings. The lower settings will take longer, but are at less risk of accidentally cooking your dill. Check after about 25 minutes and if it’s still flexible then give it another 10 minutes or so and check again.
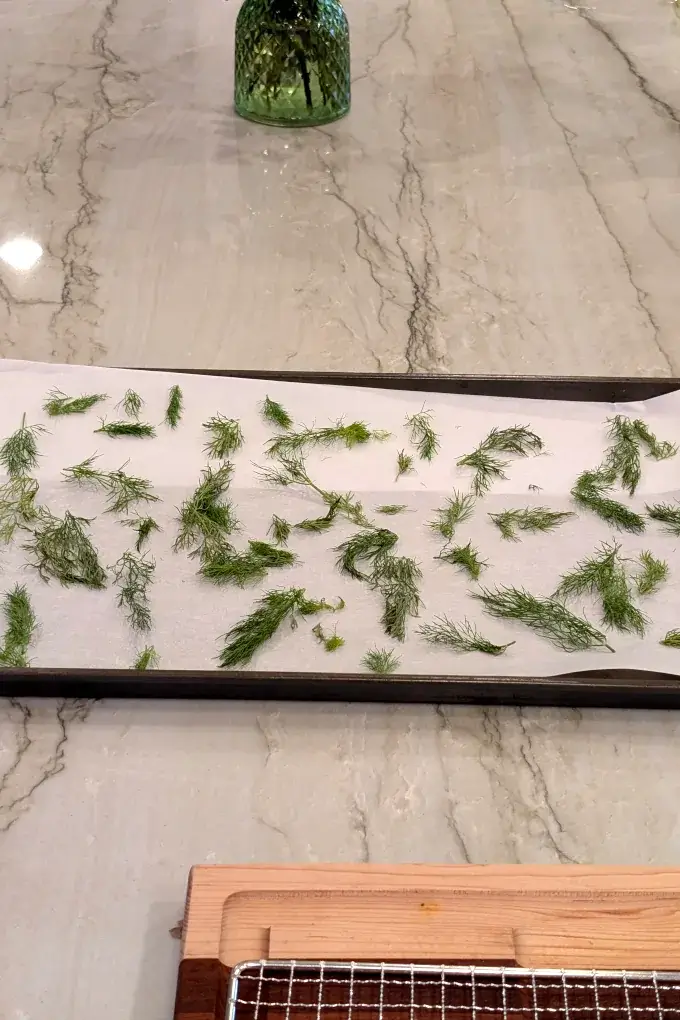
Again, it will crumble easily once it’s ready. Many ovens don’t get down to these temperatures, so it really can depend on your kitchen equipment whether this is a valid option for you or not. You don’t want to cook the dill at too high a temperature or it could burn before it dries completely.
Method 3: How to Dry Dill Weed in the Microwave
I was probably the most skeptical of the microwave method. I don’t associate microwaved food with crispiness – but this is what’s required for dry dill. However, I was pleasantly surprised.
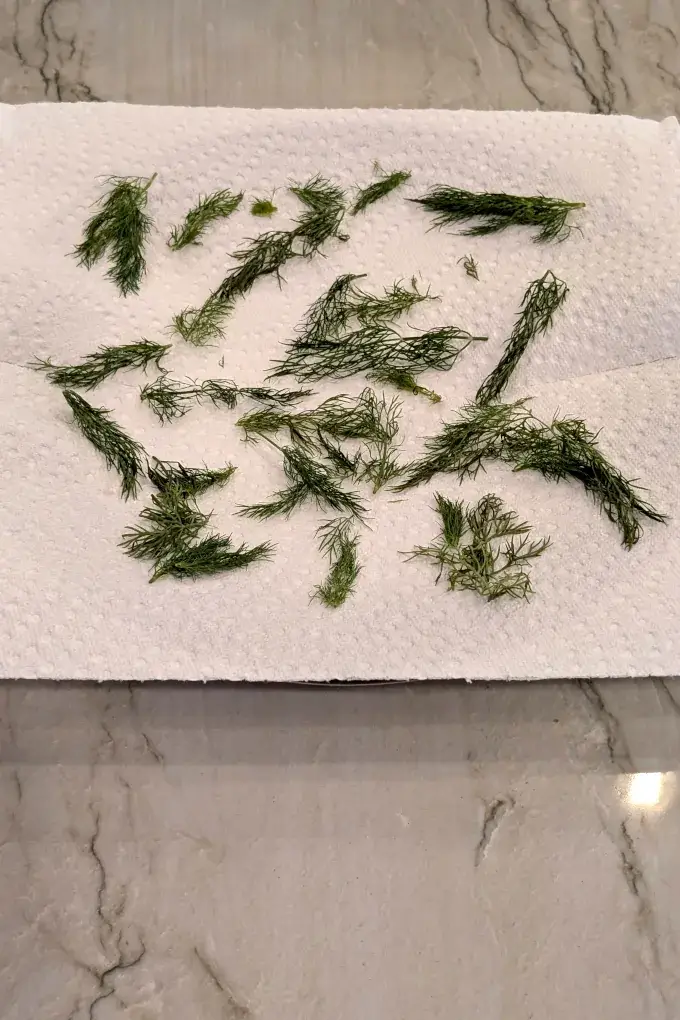
- Start with clean dill: Rinse and dry your dill by running under water and patting dry between kitchen towels or paper towels.
- Remove the stems: Carefully cut the stems from the sprigs. You want to only have the feathery sprigs with the frond parts left. You can also just pinch off the woody stems.
- Place on a plate: Put paper towels on a microwave-safe plate to line it. Spread the dill fronds on the paper towels, leaving space so the fronds aren’t touching each other. You may need to do several batches. Cover this with another layer of paper towels.
- Microwave your dill: Start the microwave on high for about two minutes. Check the dill and add more time as needed.
When I checked on my dill after two minutes in the microwave, it was already quite dry, but not completely done. Be careful when you pull your plate out – IT CAN BE HOT! I wasn’t really expecting that since I used a microwave-safe plate.
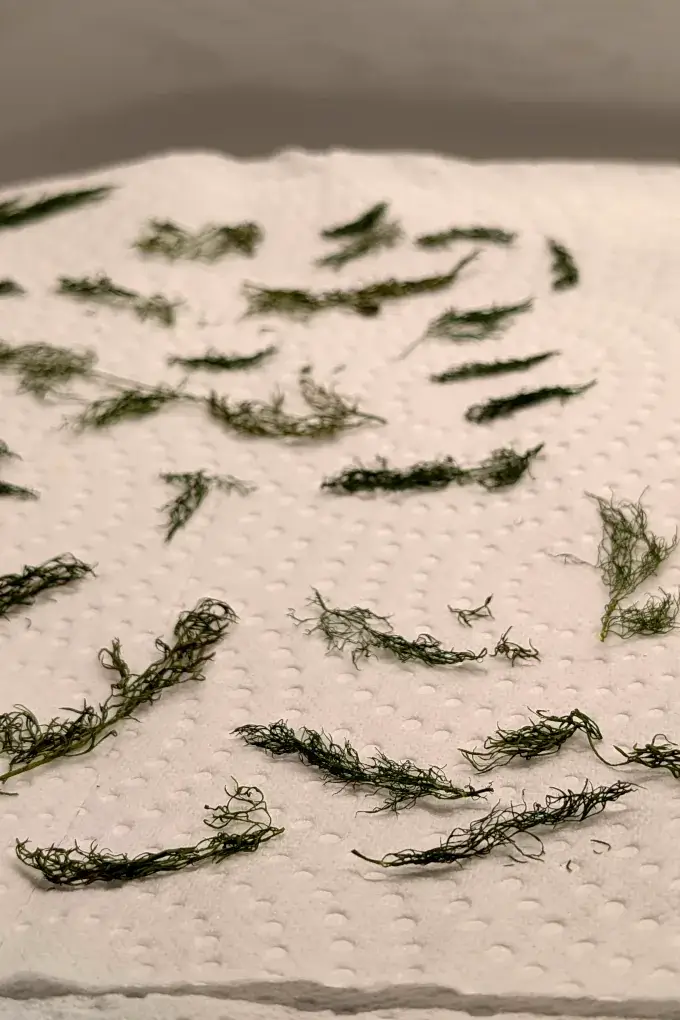
Like I mentioned, my dill seemed pretty dry, but I gave it one more minute (3 minutes total) and this time it was perfectly dried just like I wanted! This time when I rubbed the dill between my fingers, it literally fell off with just the slightest pinch. This method was definitely the easiest to remove from the stem and it took very little effort.
Method 4: Air Dry Fresh Dill and Other Herbs
The final drying method I used was to let the dill air dry. This is the simplest method, requiring only some patience to let it dry out.
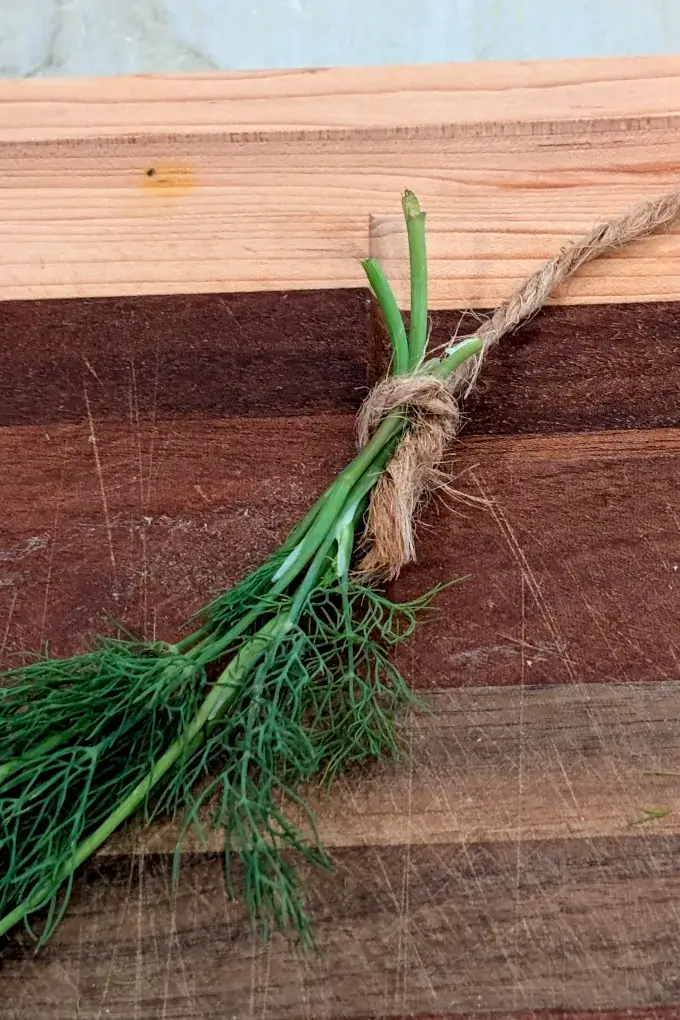
- Wash and dry: Rinse and pat dry several small bunches of dill weed.
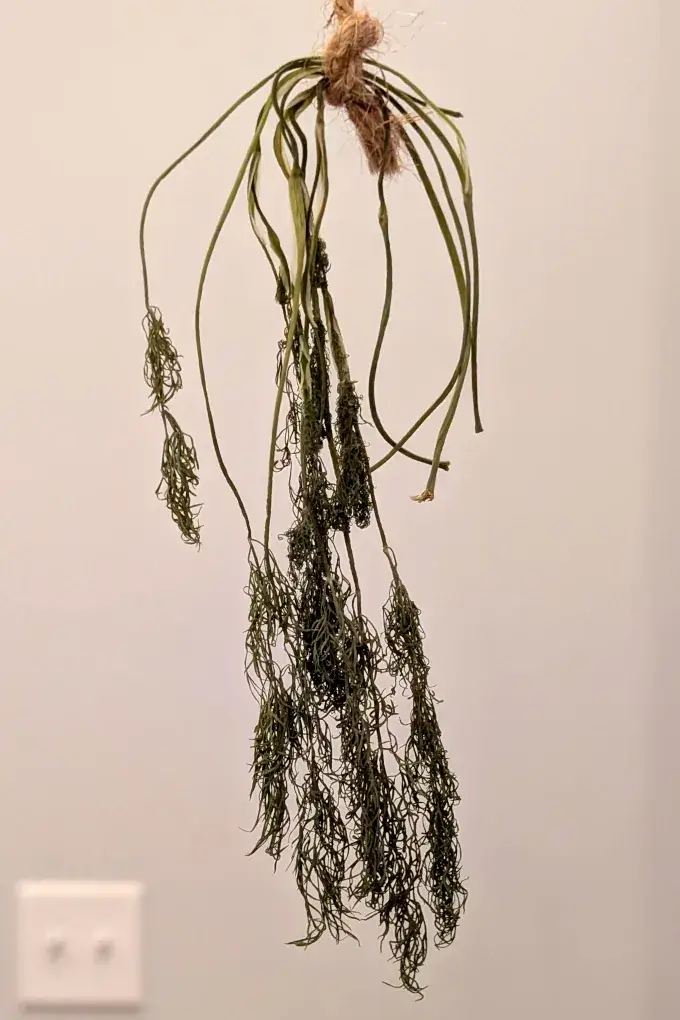
- Tie and hang your dill: Tie the sprigs together by the stems with a small piece of twine. Hang them in an open, yet out-of-the-way area, where they will get plenty of air flow.
- Let dry: This is the easiest way to dry dill – just wait until it’s completely dry and the dill fronds easily come off of the sprigs.
I tied my dill to a pendant light above the island in my kitchen. I could have tied it up someplace else, but I wanted it to be somewhere that I could easily keep an eye on it and not forget about it.
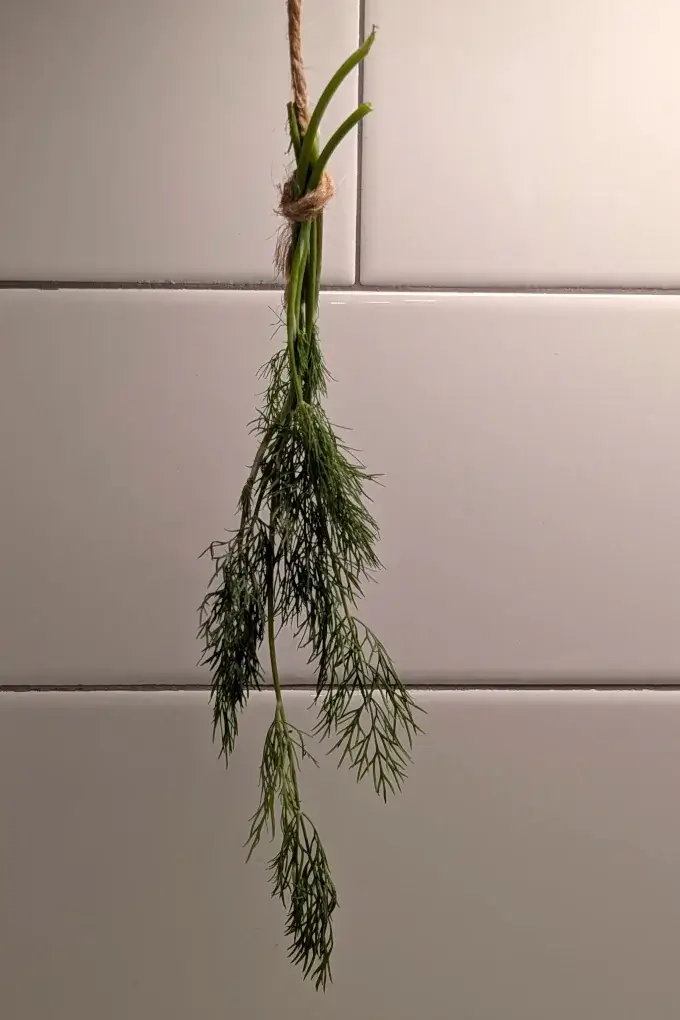
It took just over 2 weeks (16 days) for my dill to dry out to the proper texture. I will say this method was the hardest to remove the fronds from the dill sprigs. It still was fairly easy to do, but did definitely take a bit more time and effort on my part.
Removing Dried Dill Weed From the Dill Sprigs
Once your dill is dry it should be easy to remove the dill fronds from the sprigs. You can just use your fingers to pinch and either rub them together a bit or pull gently.
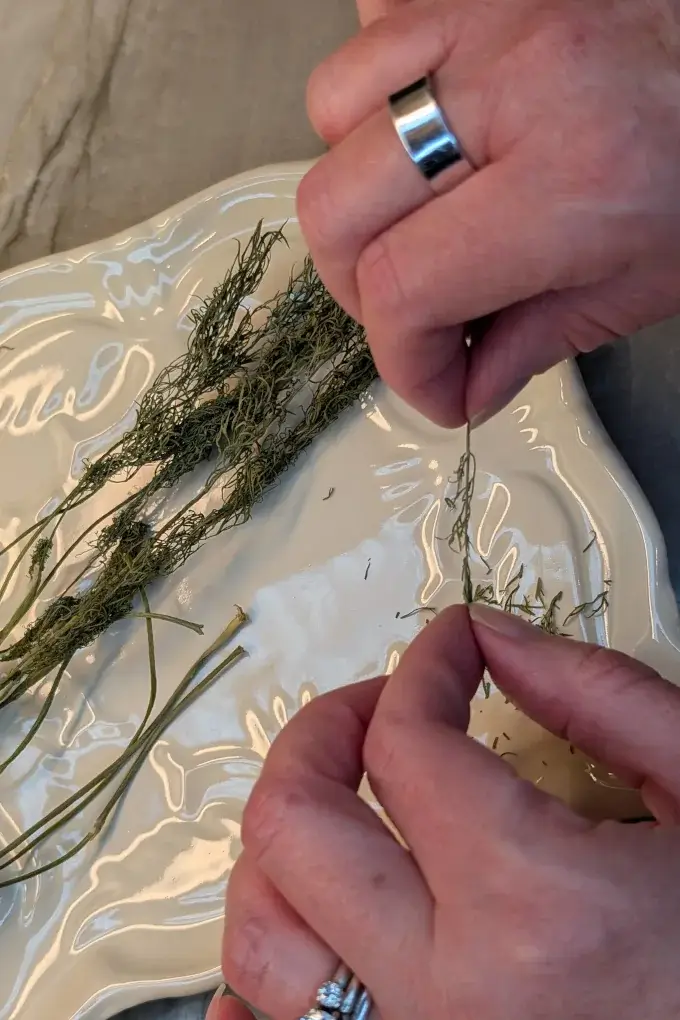
It should be easy to remove – if you have to pull or it sticks together then it is likely not dry enough. I just pinched the dill onto a plate so I could collect it all easily.
Collecting and Storing Dried Dill Weed
With your dill separated from the sprigs, you can pour it into a jar or container. I used a square plate so I could pour it from the corner. Another option would be to use a paper plate so that you can bend it into a funnel.
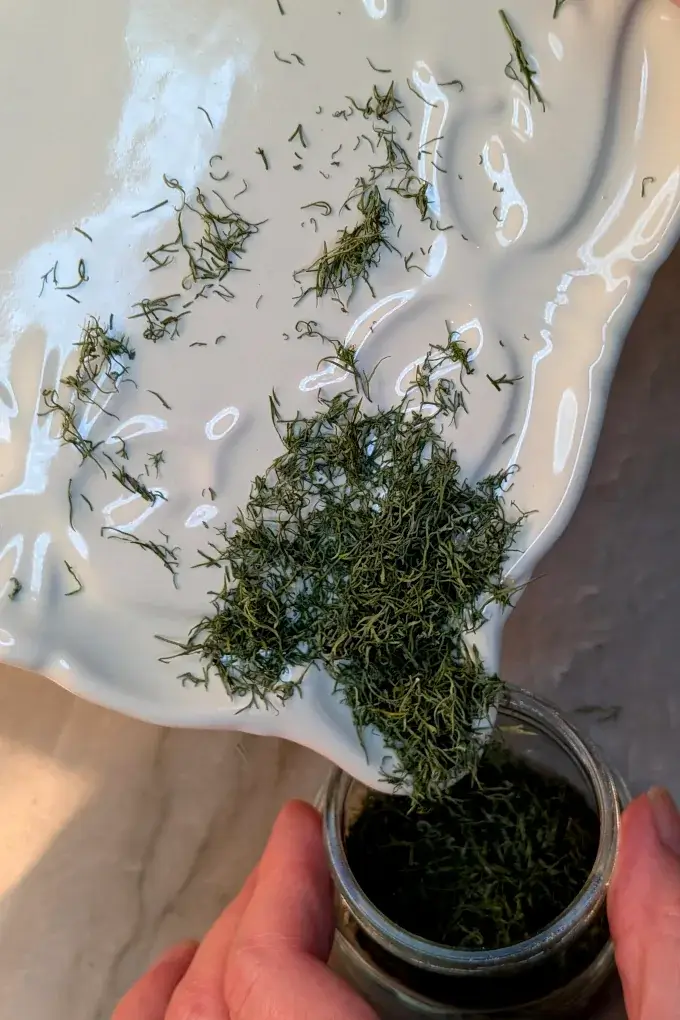
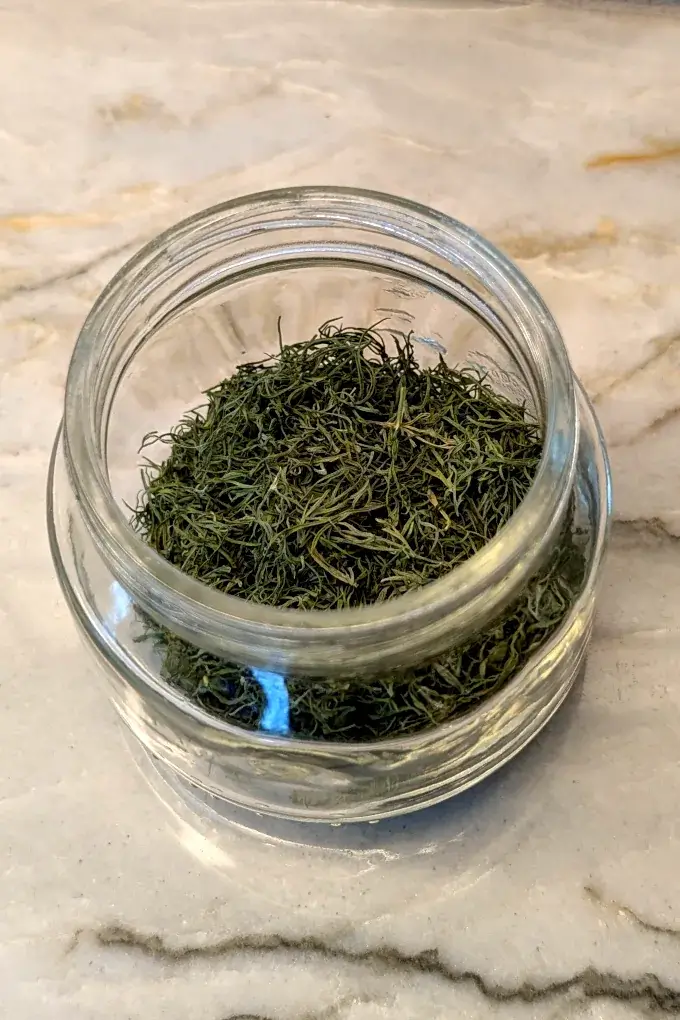
Once your dill is dried and separated from the stems, it can last for over a year if stored properly. My preference is an airtight glass container, such as a canning jar. I often save glass jars, such as jelly jars, for these purposes. They can run through the dishwasher and are great for storage.
My Favorite (and Least Favorite) Method to Dry Dill
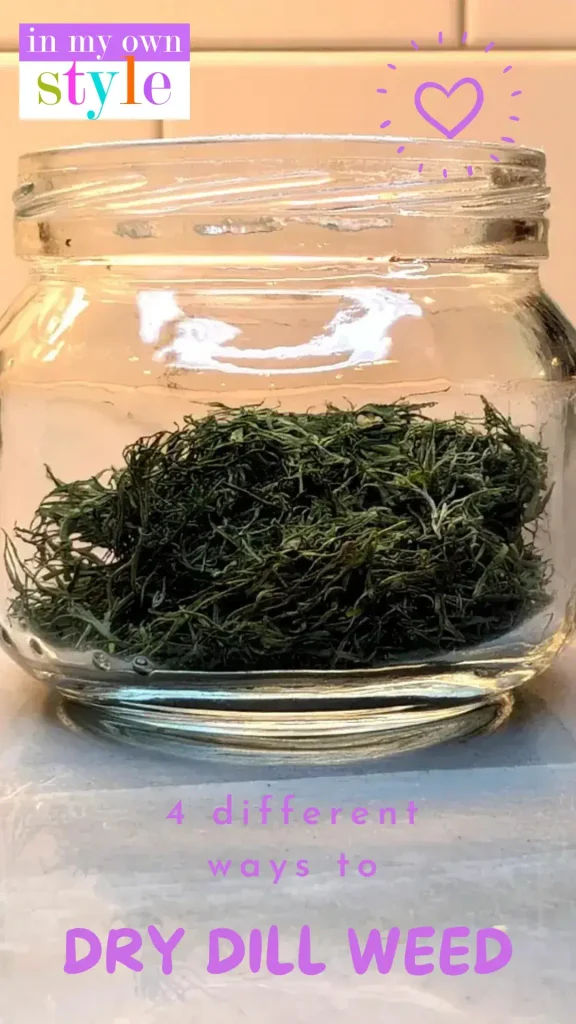
All three methods were a success! They all gave me the same end result and I now have a nice small glass container of dried dill to use throughout the winter. And, I didn’t waste the extra fresh dill that I had on hand!
I was most surprised by the microwave method, and that was actually my favorite way to dry dill. It was incredibly fast and the fronds easily separated from the sprigs once it was dried out. The speed was the main factor for me – I could start and finish this within minutes rather than hours or days with other methods.
Of the three methods, personally I don’t think I would do the air method again. This method was the most time consuming (mostly just waiting, to be fair) and labor intensive, plus I like to start and finish a project in a short time span and having to wait two weeks wasn’t ideal.
If I didn’t have a dehydrator or a microwave, I would certainly air dry dill again, but since I have other methods available I would use them. I hope this is helpful and the next time you find yourself with extra ingredients on hand you will be able to find a way to use or preserve them.