Free Printable Labels To Organize Your Stuff
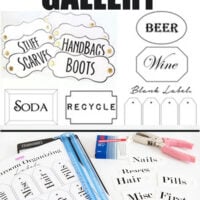
When you want to create labels for your storage boxes, bins, baskets and more don’t overlook these stylish free printable labels here on In My Own Style.
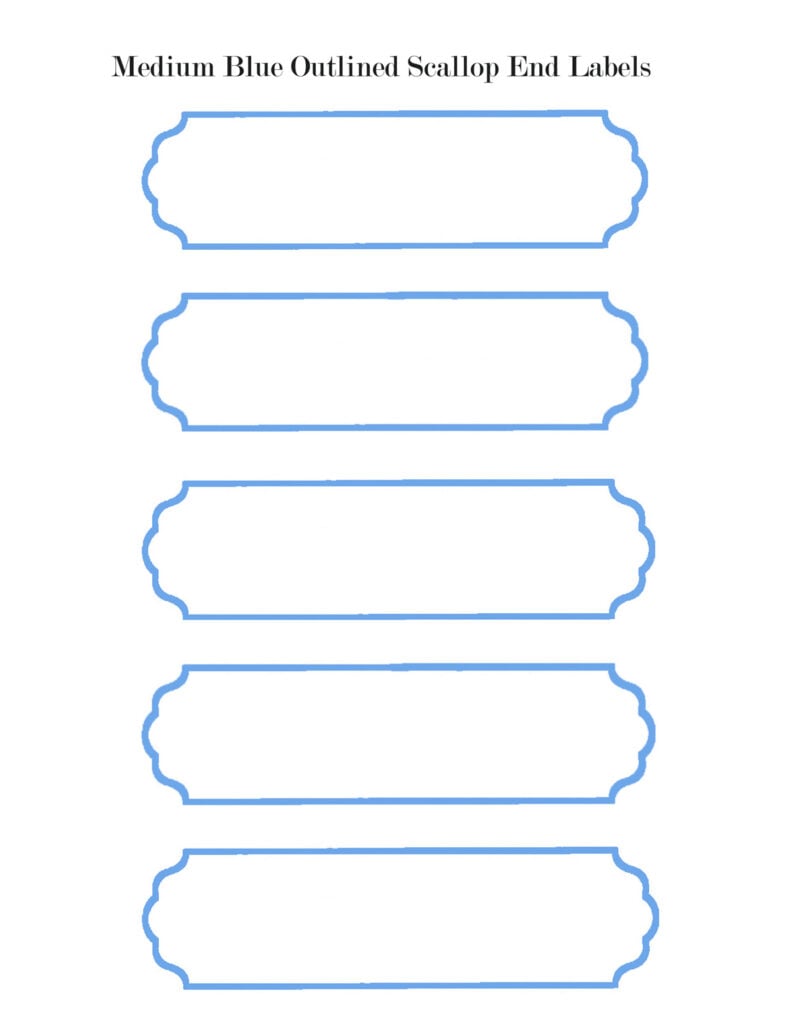
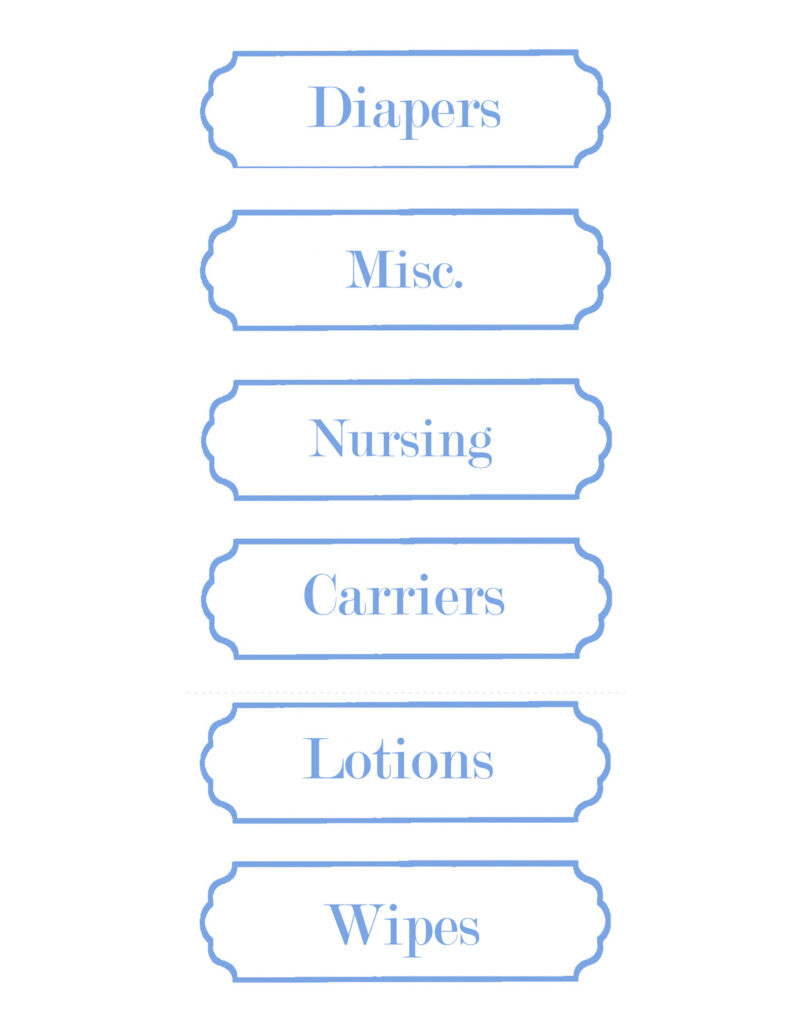
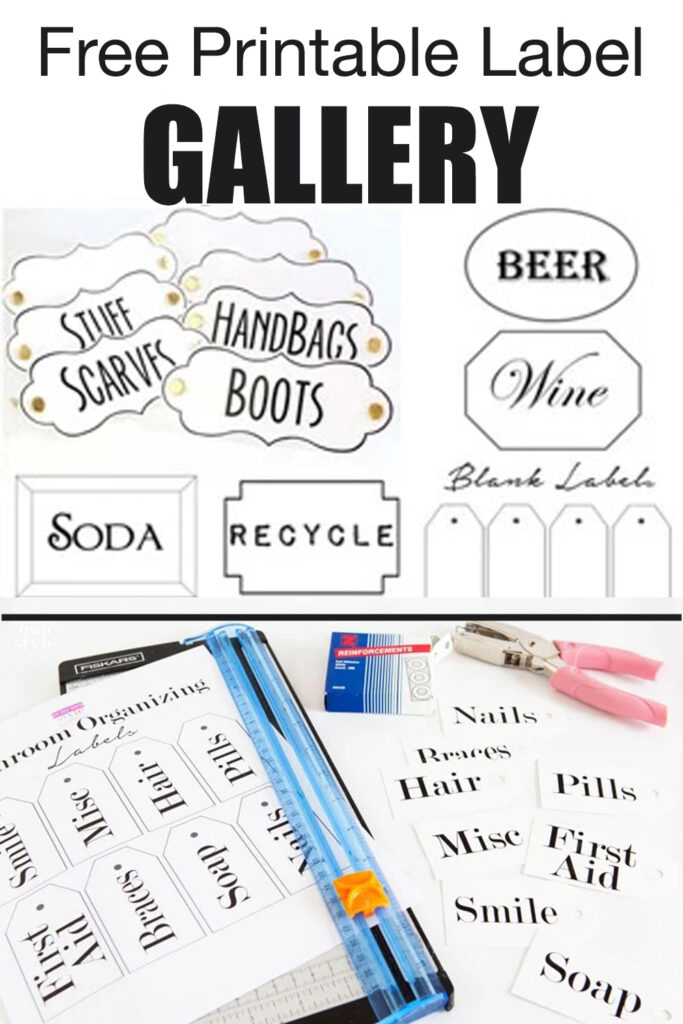
Learn how to print the labels, cut, and attach these labels to create a personalized and efficient system for storage boxes, baskets, drawers, and bins. Print the labels and get what you store in your home organized.
List of Label Images to Print
Select the link on the images below to go to the post where you will find the .pdf file for the free printable to use in your home.


Select the images below to print directly to your printer.


|
|
|
|


To see how I use these labels, head here to learn how-to and tips on printing, cutting, laminating, and attaching the labels so you can create a customized and efficient organizational system in your home.
Now, it’s your turn to put these free printable labels to use! Print the labels and start organizing your home in a fun and creative way.
Browse Through More Free Printables
Head to my Free Printable Galleries Main Page where you will find many different types of printables for the holidays, arts & crafts projects and more.
How do you download and print the labels?
How do you print it and download it?
Hi – To print the labels. click on the link in the post and then download th .PDf file.
Would love a few labels samples
Hi Shelley – Are you asking for a pre-printed sheet with items names on the labels? If so, what item names would fit your needs.
Hi – I downloaded the lable I wanted to use, but it is in PDF format. I use word. Do you have your beautiful labels in other formats? Thanks!
Hi Tammy – I don’t use Word anymore on my Mac. I use Pages. Have you tried to convert a PDF to Word? To do so, you can simply right-click the file and choose Open with Word.
You can also open a PDF in Google Docs and download it as a Word file.
If either of these don’t work for you let me know.
Thank you so much. I’m on a “label everything” binge. This really helps. So nice of you to share the labels & your knowledge.
Diane,
What a gift you’ve given to all of us!! Bless your heart for being so generous with your time your effort and your talent.
I am so excited that I found you and you have inspired me so much. I can’t wait to get started on organizing so many things. However, I know I need to just take it one day at a time.
I need a little help. I love all of the printable labels however, I am having trouble being able to use my own words in the labels. Can you assist me?
I have a Mac, and I actually could not find the PDF to actually add my own words. Could you give me a clue? If I missed it, my apologies in advance.
Forever grateful.
Warmly,
Sue
Hi Sue – The way I make my printed labels is to upload the .pdf into photo editing software or app. Once uploaded, I add the words over each label, save it and print. I use Photoshop Elements, but you may be able to do it on any photo editing program like Canva. Are you familiar with it?
Thank you, I’m labelling everything!
I needed variety and I found you! Can’t wait to try it out.
Very Nice!!!
This is outstanding effort by you. I am empress yours work.
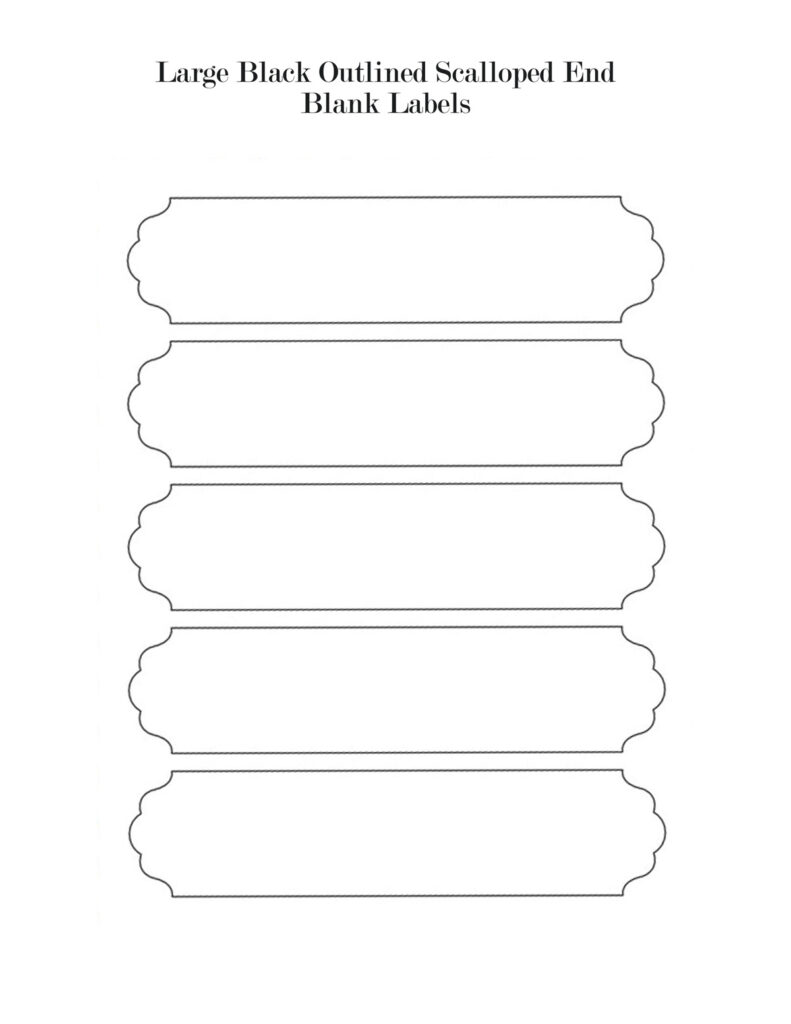
When I tried to download the file for the large labels, it comes up as a duplicate of the file box labels. Is it still possible to get the large labels file? I really like that you have designed the same style in 3 different sizes! I look forward to using them. Thanks for sharing.
Thank you so much! I.m using them a lot in my house. :)
Wow! These are amazing, thank you for sharing!
these are great! thank you so much!
Thank you for sharing this!
Thank you so much for these fabulous printable label designs! I used the Large Decorative Labels to make signs for my daughter’s high school graduation party. We are on a tight budget, so I printed signs for desserts, class rings (ring pops) and other items using the template and adobe photoshop. I printed them on construction paper that I had with my kids’ art supplies! So easy. Thank you again!
Thank you so much for the label printables! These are exactly what I was looking for. You even have small, medium and large. So wonderful of you to make these and share them.
Thank you so much for your lovely labels. I downloaded them so I can finally be organized in my home. They were exactly what I was looking for. I searched all over Pinterest but yours were the perfect ones. Your organizational skills taught me to finally put my home into the right look. I had ideas but I never knew how to do it right. Now I will have an organized and functional home. And my husband and I can live in our tiny apartment for a few more years and save for our home. THANK YOU AGAIN AND KEEP UP THE GREAT WORK!!!!
We’re having a long heat wave so I’ve been having fun looking at your blog which may prove to be dangerous…I decided to paint my sofa. It’s so comfortable but so outdated. Thank you for all your great ideas!
Awesome. Just love the style of these. Thank you so much.
THANK YOU THANK YOU THANK YOU!!!!!! you have inspired me to go to the next level. I just THOUGHT I was organized.. Can’t wait to print these out and make it pretty!!!! you are AMAZING!