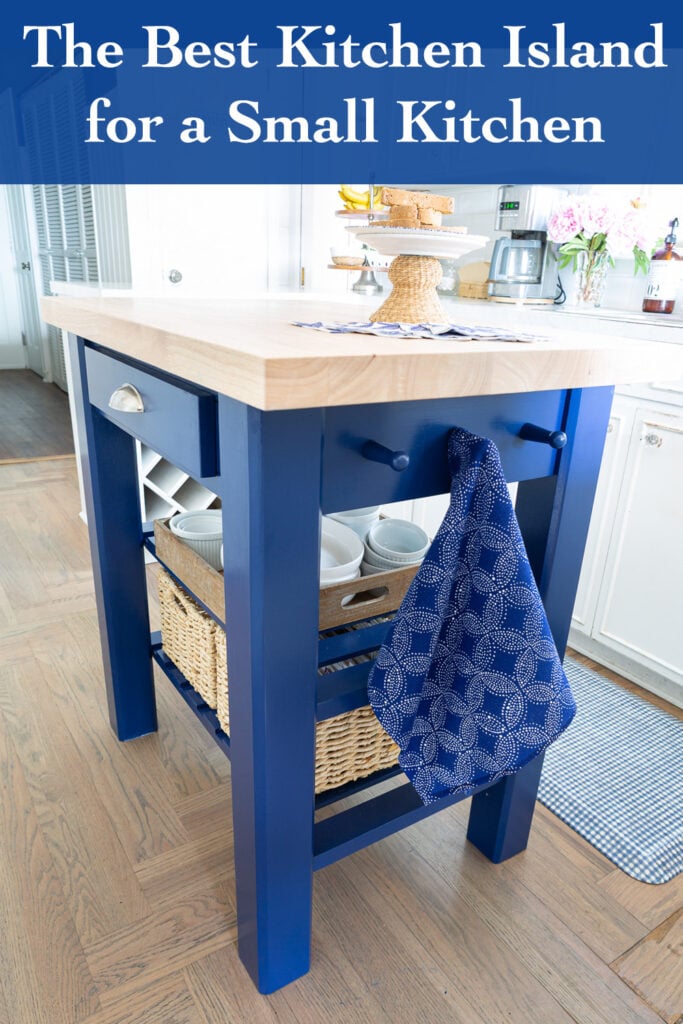
Sherwin Williams “Dress Blues” Painted Kitchen Island
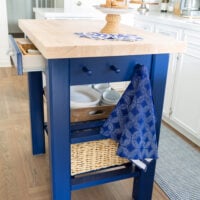
If you have a small kitchen that could benefit from having an extra work surface in it or a place for kitchen storage, then you may like the portable kitchen island I found and how I painted and styled it to fit the decorating style of my kitchen.
Last week I shared a post with you about the new kitchen island I bought to replace a metal one I previously had.
I told you as soon as I finished customizing it in my own style I would show you what I did to it. I finished it and I couldn’t be happier with how it came out.
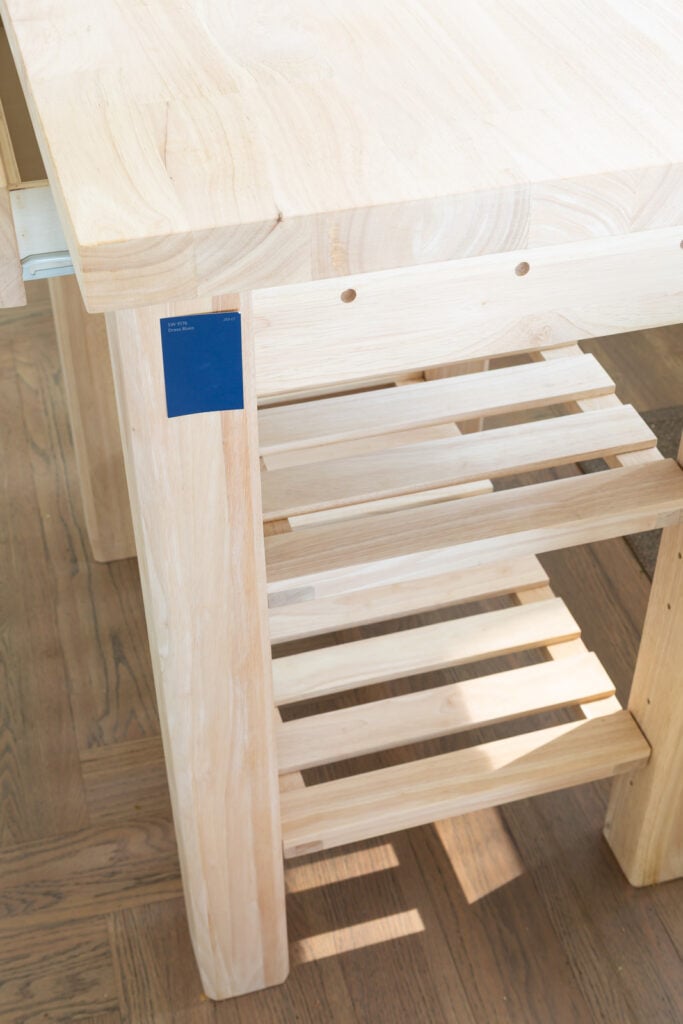
This is what the very solid and sturdy wood island looked like before I added my style.
There are many ways to customize this wood work table/island from simply rubbing wood conditioner on it, sealing it with a clear poly to staining it a wood tone or painting it a color.
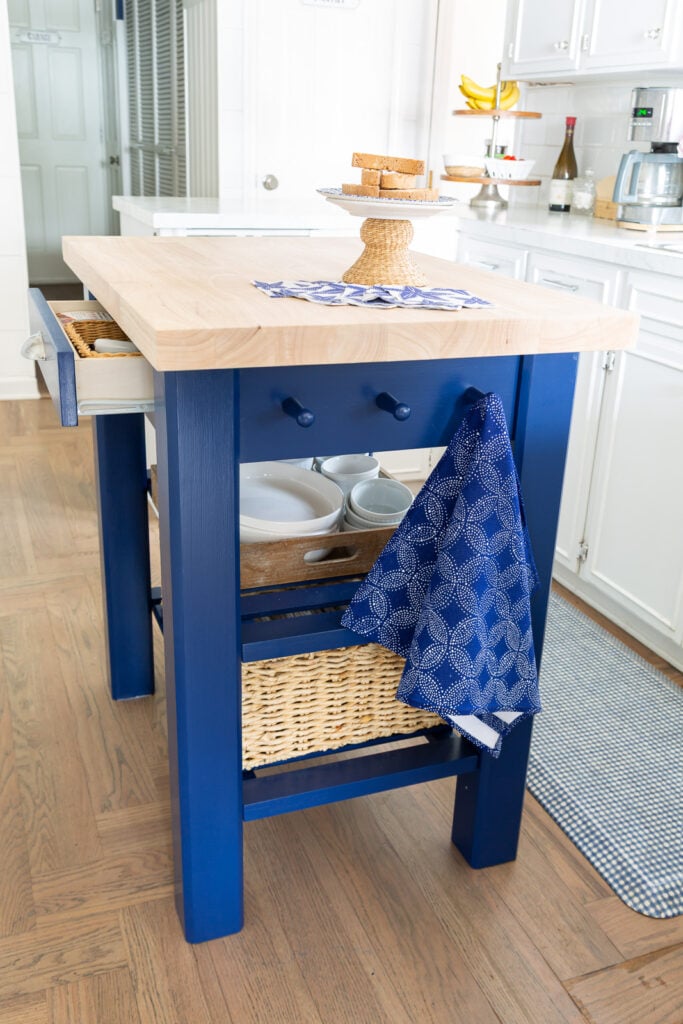
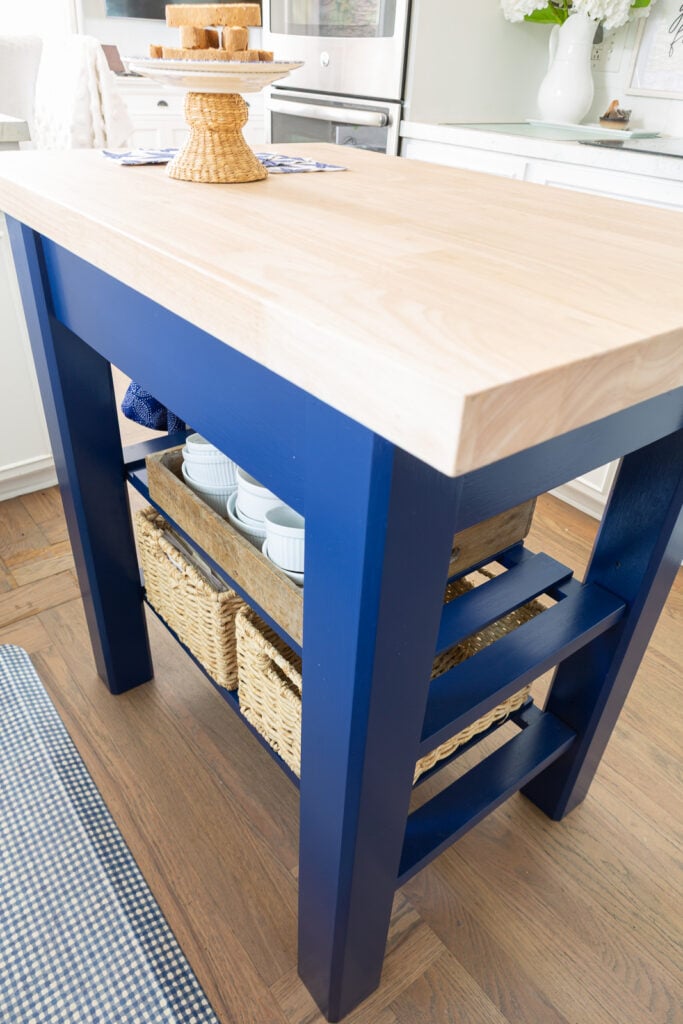
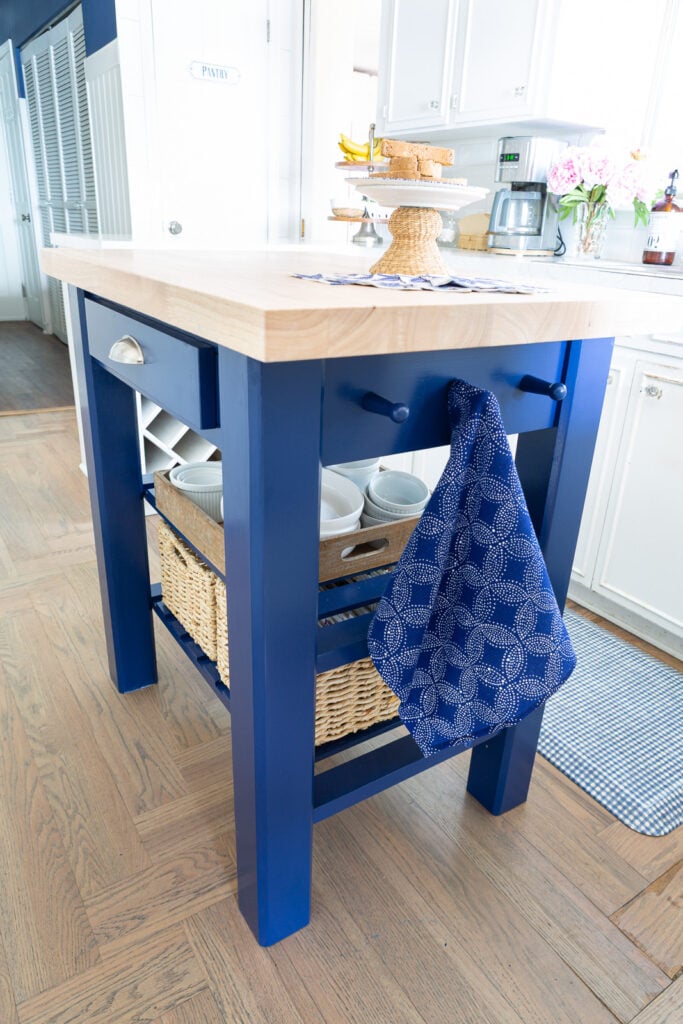
After looking at all these options, I decided to paint the base using Sherwin Williams Dress Blues paint.
How I Painted the Table/Island Wood Base
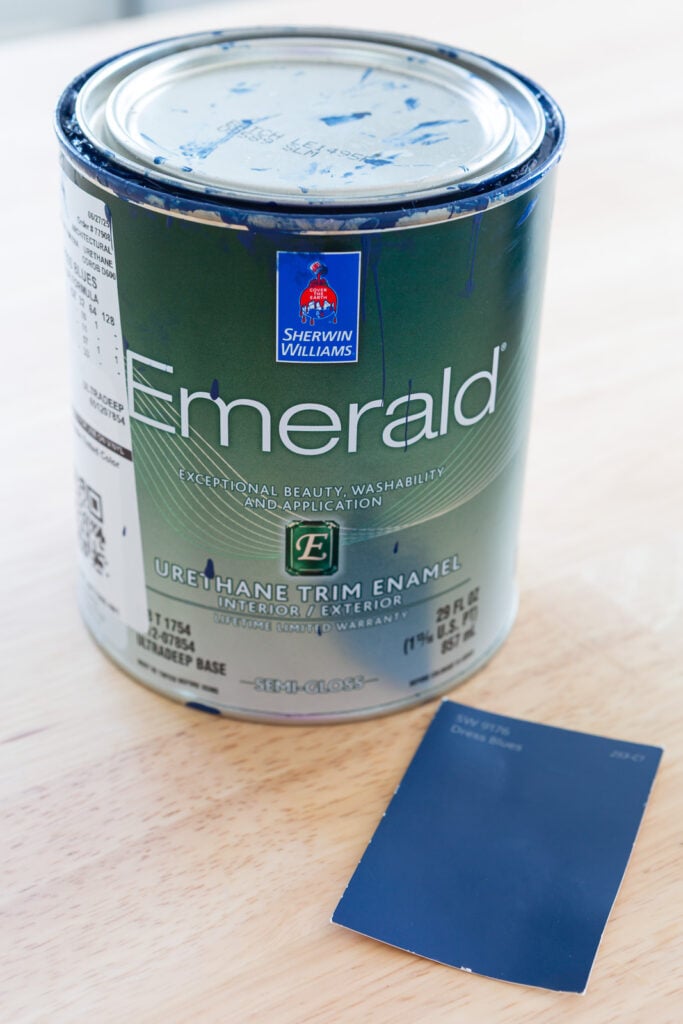
Normally I would have chosen to use Sherwin Williams ProClassic formula of paint, since I used it to paint the kitchen cabinets, but the guy at the paint counter told me the color couldn’t be made using ProClassic in a quart and recommended I try their Emerald formula.
I decided to get it made up in a semi-gloss finish so the base would be easy to wipe clean.
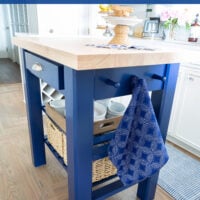
Here is what the back of the island looks like. This side is parallel to the sink.

The color looks amazing and coordinates with the blue and white “hallway of darkness” that can be seen from the kitchen.
How I Sealed the Wood Top
To seal the wood top, I went back and forth on how I wanted to finish it. Two readers mentioned they liked Waterlox for sealing Butcher Block and wood. A few others liked using food safe mineral spirits that is used mostly for wood cutting boards. Both are great options.
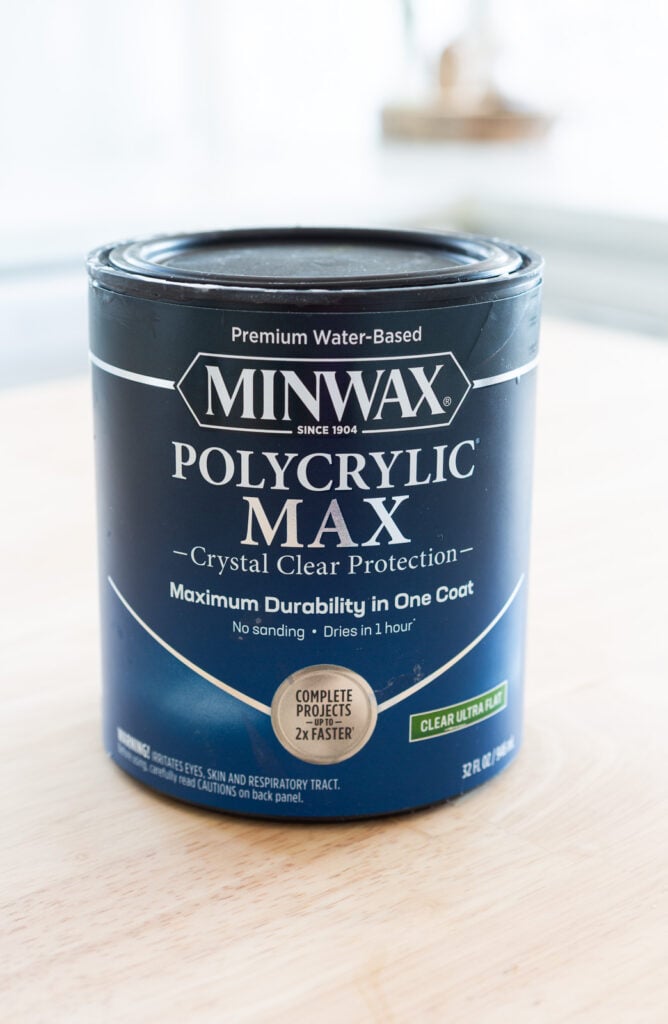
Since I am not going to use the surface as a cutting board as I have a Boos Board Cutting Block to cut on, I decided to try a new product from Minwax called Polycrylic Max in an Ultra Flat finish.
I love Polycrylic and have shared all the projects I have used it on over the years with you on the blog so I went for it.
I LOVE how well it went on and best of all how it sealed the wood with no sheen so it looks like bare wood. I followed the directions on the label. I wanted to make sure it was properly sealed and used two coats – sanding in between the coats to make sure the second coat adhered well.
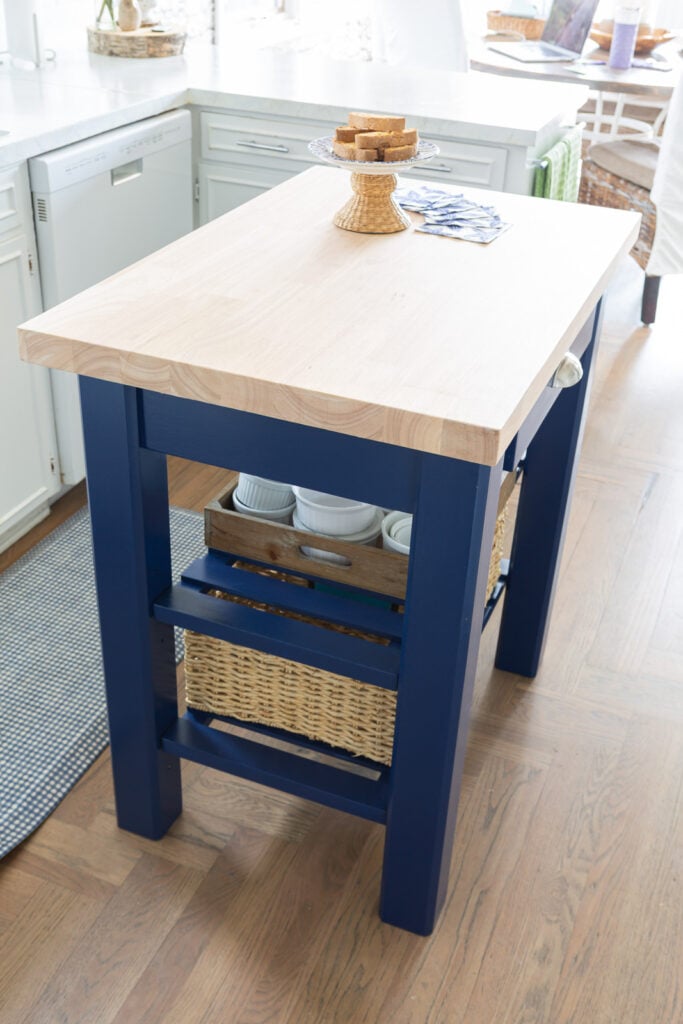
How I Styled The Wood Island
The wood worktable/island has a drawer and two shelves under the drawer. The shelves can be screwed in at a few different heights depending on what you want to store on them.
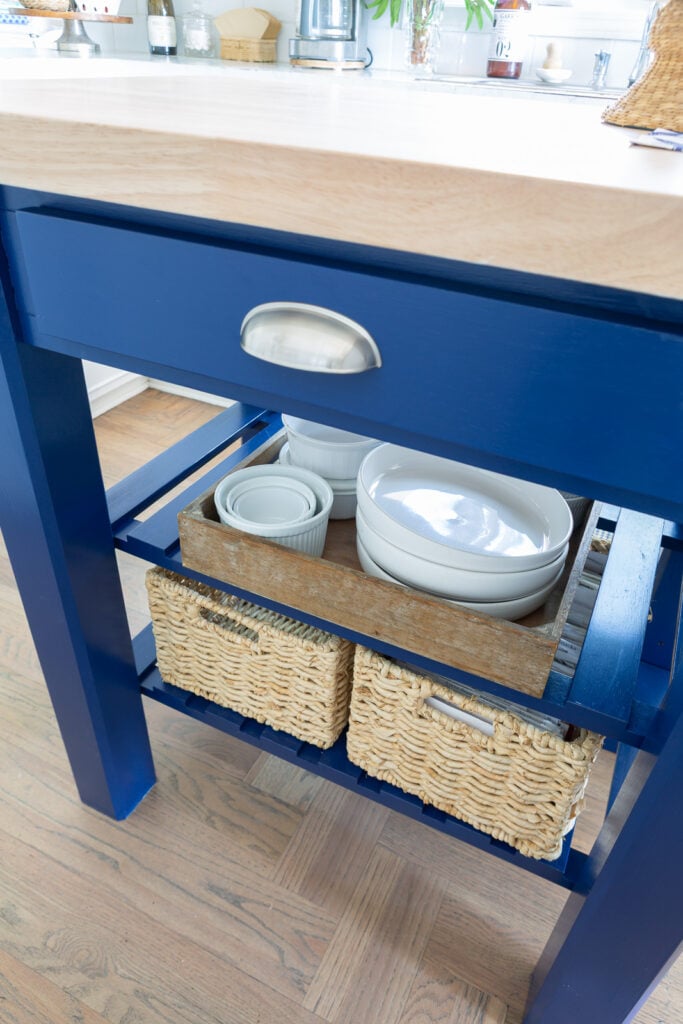
The drawer had a plain wood drawer knob. I didn’t care for that so I replaced it with a brushed chrome bin-style pull that I bought at Home Depot.
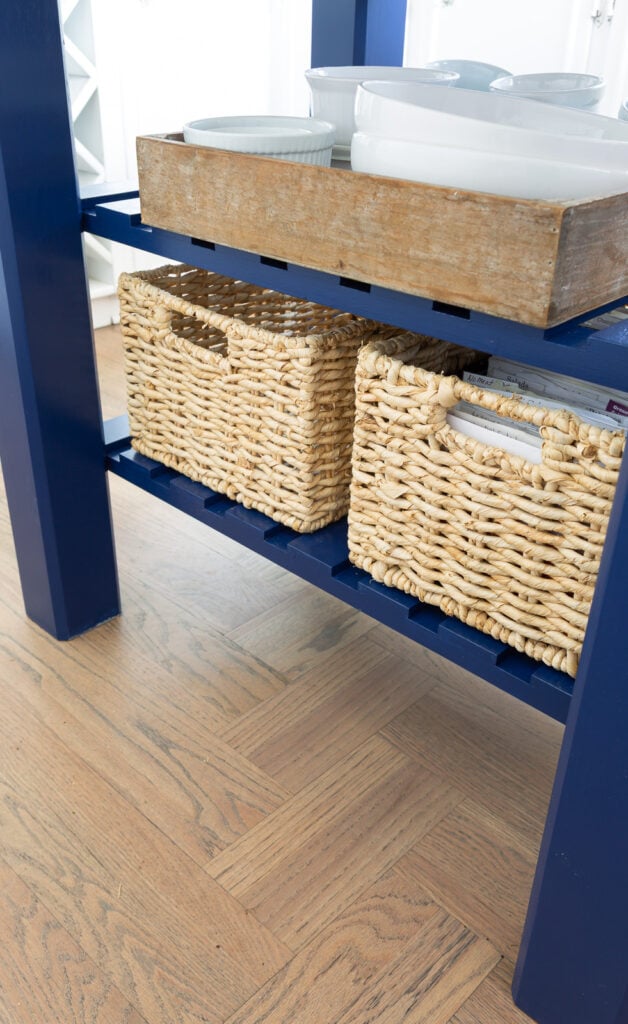
I put two baskets that I had on the bottom shelf and a tray with some of the most used dishes on the top shelf.
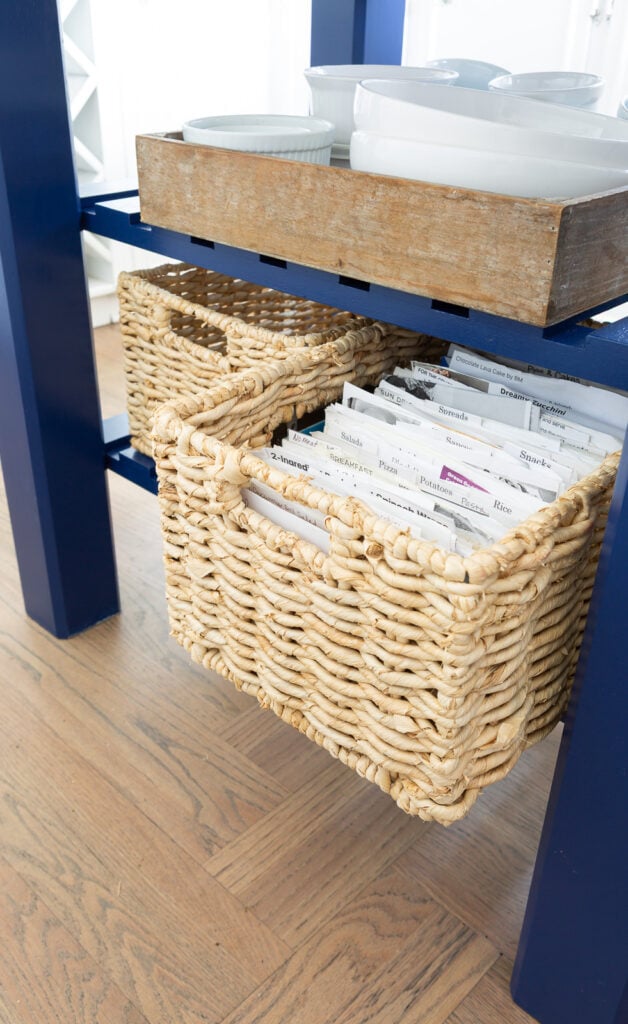
On the previous metal island I had in the kitchen I made a recipe box using a wine crate. I loved this, but decided I wanted to keep the island from looking cluttered. It just so happened that the size of the recipe cards fit very nicely in one of the baskets. WIN/WIN without any fuss.
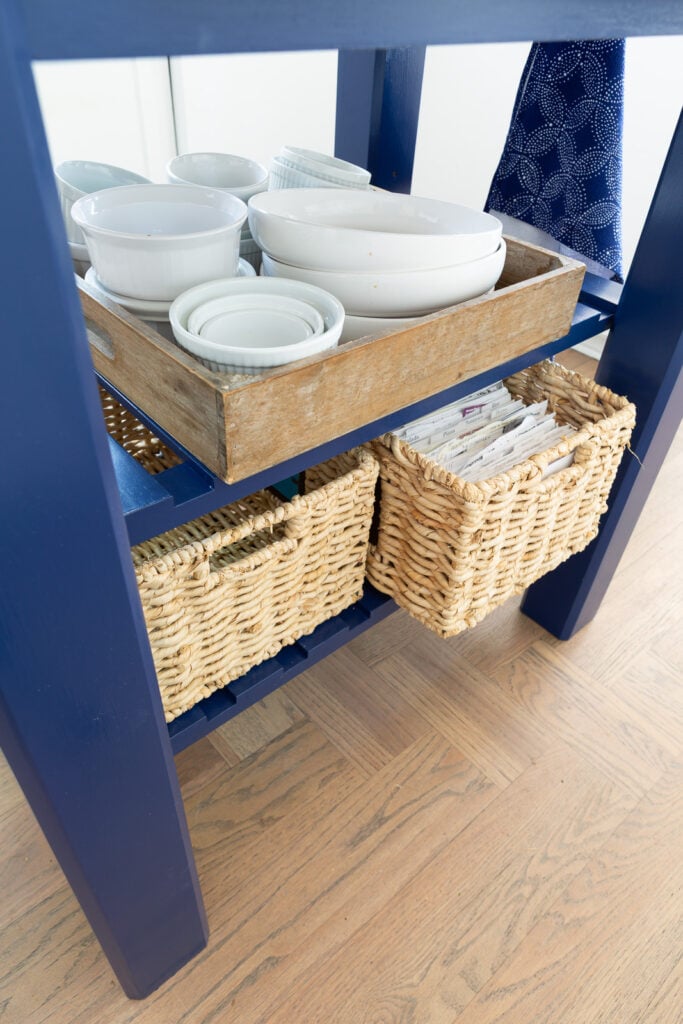
I am not sure what is going to go in the other basket just yet, but I am sure in time I will fill it with something that I like to keep hidden, but easily accessible.
How I Organized the Drawer
If you have followed my blog for a long time then you know I like to line drawers with pretty paper. I have used everything from fabric, wallpaper, book pages and even gift wrap to add a surprise pop of color where you normally don’t expect it.

For the my new kitchen island drawer I used gift wrap and then sealed it with Mod Podge in a matte sheen that I had in my decor supply stash.
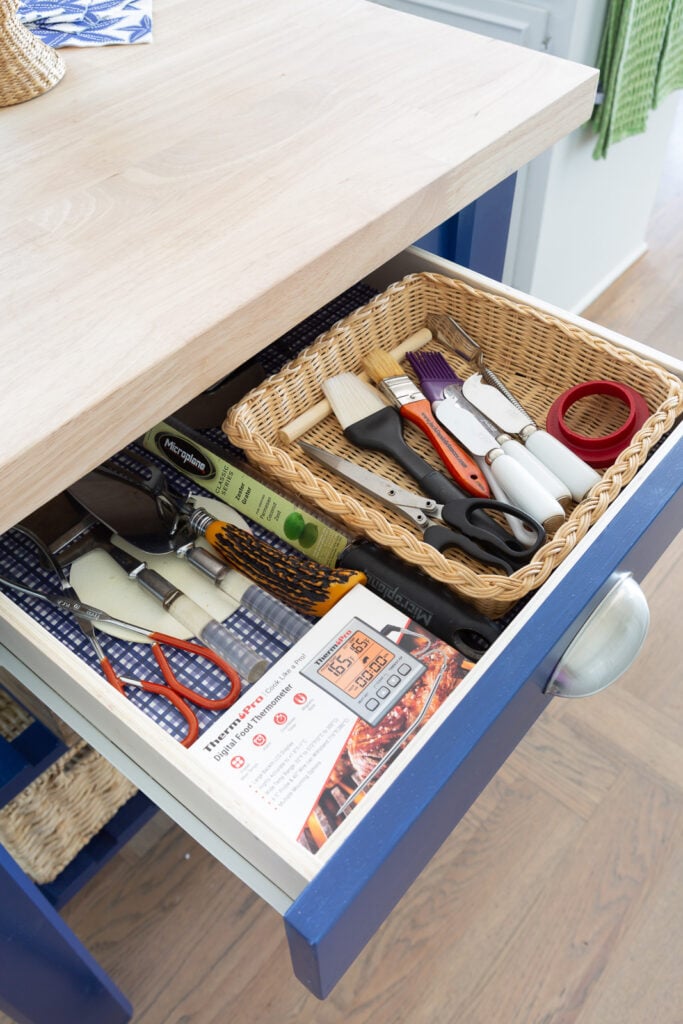
I also like to use rectangular and square wicker baskets as drawer organizers in all my drawers. I find most of them at thrift stores and yard sales.
I took my time to get this new island project done. First it took me quite a few months to find a ready-made one that would fit in the small space. Next I didn’t rush into choosing the color and styling.
I made it a point to look over the images and clippings I have taken from Pinterest and magazines to make sure what I ended up doing, would be just right for my kitchen as well as my own decorating style.
More Kitchen Project and Decor You May Like
- Fall Kitchen Shelf Styling Using Wallpaper
- Reveal: Kitchen Wall After Removing Upper Cabinets
- How to Make Backdrops for Open Kitchen Shelves
- DIY Floor to Ceiling Plate Rack
It looks so great, Diane! That’s the happiest blue color.
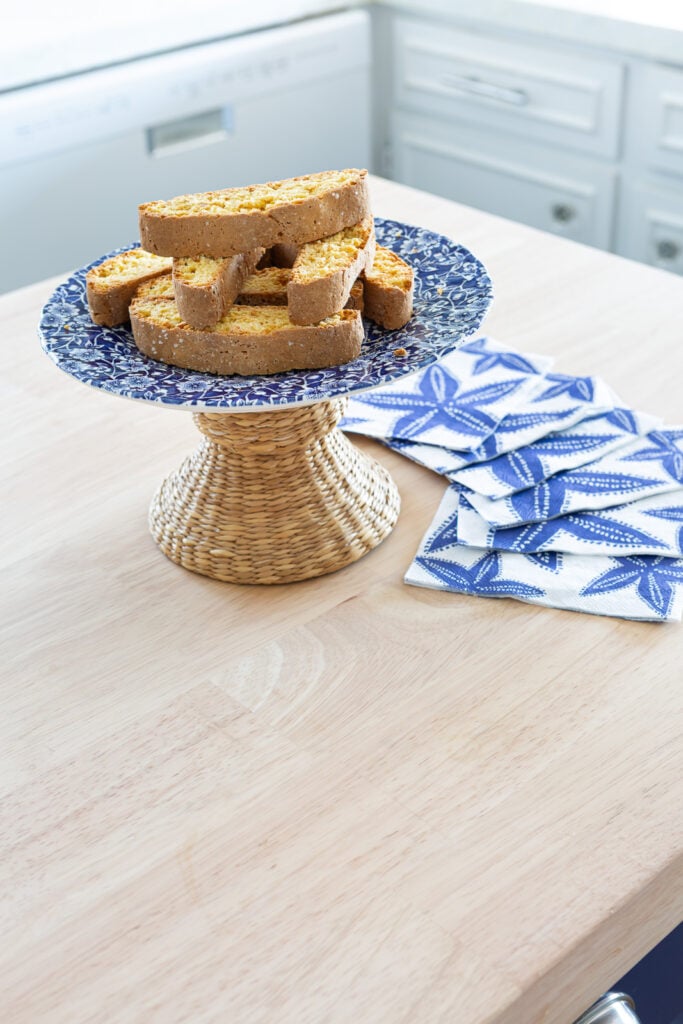
It’s beautiful, Diane. I love everything about it. May I ask where you got that rattan stand with the blue plate on top?
Several years ago I asked your opinion about using two different countertops in the same kitchen. You thought it would look good, so here we are years later with kitchen remodel finally done. We chose quartz on the side of the kitchen where I cook, wash dishes, etc. On a separate 9ft counter that has just my mixer, toaster, and microwave we used butcher block. I’m so glad we went with that idea. It breaks up the look and adds some needed interest. Thanks much for your input.
Great job! love the color! I’m a fan of polycrylic as well, and have used the same SW paint on some projects in the past with great results. I would have had to put casters on that cutie island tho. Because I have a thing for them. I’d put casters on my husband’s feet if I could, but he won’t stand still long enough
It looks great! I really like how you finished the top to look like the original wood. I’m going to borrow this idea from you for my next project. :)
It looks very chic and most of all, useful!
I love the color and that you kept the top the original wood. Perfecto!
Looks so good!
Love it!!!
Diane,
Absolutely beautiful and perfect!
Gorgeous! It’s beautiful.
Well done, D! Your new island looks perfect in your kitchen.
Another huge success Diane, love it!!
love the paint color and the drawer liners!
It’s gorgeous! Fits in your kitchen so well….and looks good to boot! ;)
Absolutely gorgeous!!! Love the blue!!
Perfect in every way!!
Beautiful! The blue is dynamic.
It turned out lovely!
Lovely! Thank you for the finish details.
Blue is grand.
Tell me details of the flooring in your kitchen.
Is it vinyl plank flooring?
Where should I shop for the tray?
Your kitchen is lovely!
Beautiful! You have such an eye for detail, color and design… never doubted it would be a beautifully finished piece for your kitchen, still, seeing your finished work — it’s absolutely stunning! Well done. Your patience and dedication (always) paid off! Love what you did with the Queen’s plate and rattan pedestal — very clever and gives the whole look the “chef’s kiss”. Can you please, please, bottle whatever this ability/skill/eye you have and sell it?
That looks lovely. It’s so YOU! Your advice about researching images and not rushing into decor projects is handy, a good reminder for us impatient (impulsive) types.
Beautiful! Beautiful and beautiful
WOW . . . . It looks so beautiful. Love the blue and how you coordinated it with the rest of the kitchen. Kudos to you.
That is absolutely adorable!!!!!!!!!!!!!!!
I love the shade of blue and the butcher block looks great. I love that it has no sheen on the natural wood. Great job!
Love the color and how you’ve decorated it!!
Diane, I love your new island and wish we room for one in our small kitchen. I also want to compliment you on how you emphasized how long it took you to get it exactly right. Sometimes we see a project and want to jump into it without thinking about exactly how it will fit in our homes. You
really bare so good at making intentional decisions about what you want and how you will do it.
Nice pop of color!!!